Ashina Outskirts is a Location in Sekiro: Shadows Die Twice. This is the first location that players visit after obtaining the Shinobi Prosthetic at the Dilapidated Temple.

General Information
- Previous: Dilapidated Temple
- Next: Hirata Estate, Ashina Castle
- Bosses: Gyoubu Oniwa/Demon of Hatred
Video Walkthrough
Map
[map goes here]
NPCs in the area
- Inosuke Nogami
- Anayama the Peddler
- Inosuke Nogami's Mother
- Crow's Nest Memorial Mob
- Tengu of Ashina
- Battlefield Memorial Mob
- Old Woman
Bosses
- Headless
- Chained Ogre
- Demon of Hatred
- The Great Serpent
- General Tenzen Yamauchi
- General Naomori Kawarada
- Gyoubu Oniwa
- Shigekichi of the Red Guard
Items
Quick Items
- 9x Pellet
- 5x Snap Seed
- 2x Ako's Sugar
- 6x Ceramic Shard
- 5x Spirit Emblem
- 4x Ungo's Sugar
- 3x Gachiin's Sugar
- 1x Nightjar Monocular
- 1x Antidote Powder
- 1x Divine Grass
- 8x Fistful of Ash
- 4x Light Coin Purse
- 1x Heavy Coin Purse
- 1x Bundled Jizo Statue
- 3x Mibu Balloon of Wealth
- 3x Mibu Possession Balloon
Equipment & Upgrades
- 1x Scrap Iron
- 2x Gourd Seed
- 3x Prayer Beads
- 1x Shuriken Wheel
- 1x Black Gunpowder
- 1x Mechanical Barrel
- 1x Robert's Firecrackers
Keys
Enemies
Full Ashina Outskirts Walkthrough
This is the first chance that Sekiro gets to try out his Shinobi Prosthetic and Grappling Hook. As such, it incorporates many grapple points and players should be on the lookout for advantages of going high up.
Unlock Fast Travel
Grapple onto the ledge ahead and commune with the Sculptor's Idol to unlock "Sculptor's Idol Travel". This enables you to go to other idols you have discovered and communed with. A new "Travel" menu is added to the Idol's reference. Selecting it will show you an icon of Sekiro and his current location. Be mindful that Idol locations are named on the travel menu, but a Location (Area) of the game is defined by the large text appearing on the screen as you enter it.
From the idol, Climb up and around a short wall and crouch to avoid enemy detection, then find 1x Ungo's Sugar, which will reduce Vitality damage taken by something over 30%. Drop back down to the idol and further down toward the gate, and you can stealth kill the soldier patrolling this area. When you do this, a tutorial for "Acquiring Enemy Loot" will trigger:
"Enemies drop loot such as items and money. You can loot multiple enemies at once, and from some distance away. Items found in the world are different than loot, in that they must be approached to be picked up. Press and hold Square: Acquire Loot. Press Square near a world item: Pick Up Item."
After defeating this Guard, you will obtain about 5 Sen and can walk forward to pick up 1x Pellet and 1x Ceramic Shard. Ceramic Shards are used as Stones were used in previous games, so they can be thrown at enemies to pull them from a larger group.
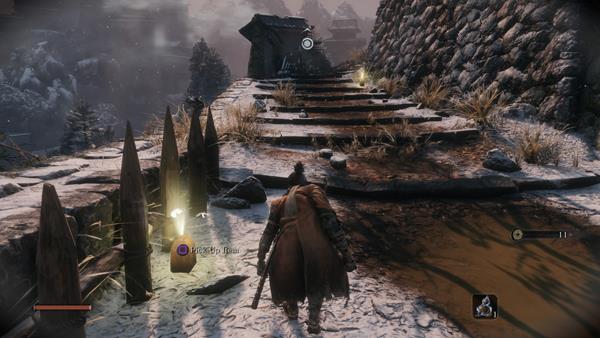
Find your First Sugar
Killing the enemies(which are consisted off a Guard and Rifleman) ahead gives you about 21 XP and 11 Sen per enemy (26 XP and 14 Sen if playing without the protection of Kuro's Charm after unlocking that option in New Game Plus). Since you're just starting out, make sure to collect all your loot by holding down Square. Make your way up and grapple onto the roof of the locked gate, then go right and deal with the warrior that was guarding the Ungo's Sugar. From here, you can see another item shining by a wall on the right side of the larger building. Grapple to the top and then jump and R1 to kill this Guard and gather 1x Ceramic Shard. If you look down from this shard, there's a ledge below you can drop onto. Drop down and go into the cave to obtain 1x Ako's Sugar. This item will boost your Attack Power when used.
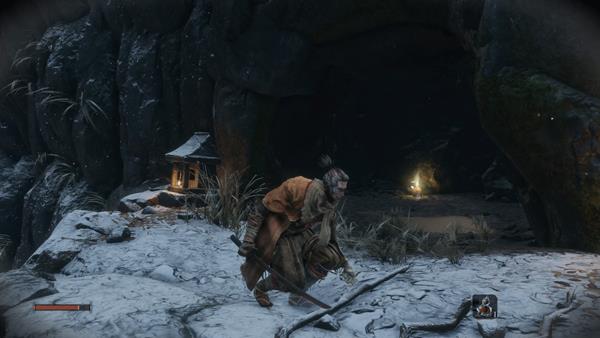
Go back outside and grapple onto a ledge then return to the Ceramic Shard location. From here, grapple onto a tree branch, you can now approach the enemies ahead from higher ground. The two enemies ahead have GUNS - you can deflect these projectiles if needed.
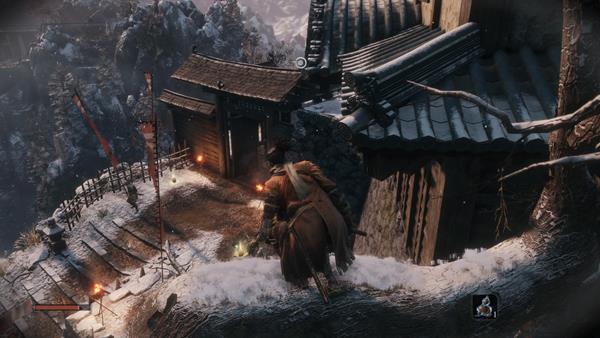
After you have killed the two enemies by the open gate and the one that was patrolling the grass, go back toward the locked gate and pick up 1x Ungo's Sugar. Near the open gate where the Ashina Soldier (Matchlock Rifle)s, you'll find 1x Pellet and 1x Fistful of Ash. Ahead of the open gate, there's an item and a Sculptor's Idol, but they are guarded by 3 Dogs. The dogs attack quickly but can be deflected and you can AOE them with Kusabimaru.
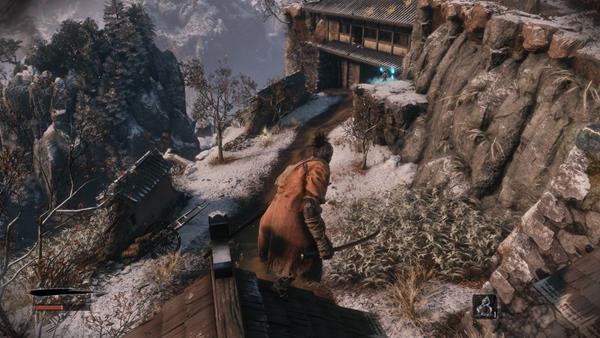
Unlock Outskirts Wall - Gate Path Idol
Commune with the Outskirts Wall - Gate Path Sculptor's Idol to unlock it. You do not have to rest and reset enemies if you don't want to. The item down from the idol is 1x Ceramic Shard. Up and right from the idol, there's a Gamefowl. He can fall to his death if you move around, for an easy +13XP. For the purpose of the walkthrough, we'll go into the opening that is right next to the Sculptor's Idol by grappling to the roof. Inside here you will pick up your first Prosthetic Tool Upgrade Material: Shuriken Wheel.
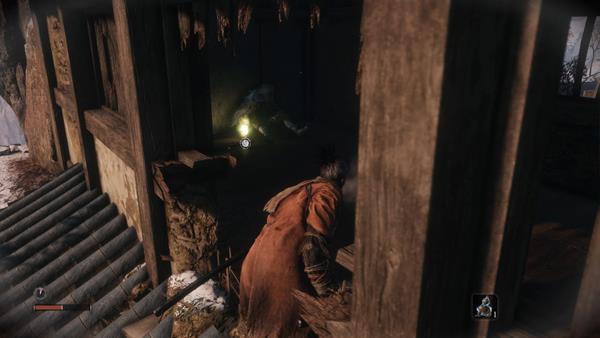
"Shinobi Tools can't be used on their own. By giving them to the Sculptor, they can be fitted into the Shinobi Prosthetic. You can quickly return to the Sculptor via Travel from a Sculptor's Idol, or by using the Homeward Idol"
Go back to fit your new Shuriken
Return to the Dilapidated Temple and talk to the Sculptor. Select to "Present Shinobi Prosthetic and "Fit New Prosthetic Tool". He will then equip the Loaded Shuriken for your arm. Talking to him at this point will trigger some further conversation about how the talk of Bloodshed is influencing his sculptures and turning the Buddha carvings into apparent demons. He asks that you do not anything untoward with the gentle-faced Buddha of the true master.
Using your new Prosthetic Tool
You equip prosthetic tools via the Equipment Menu, so do this immediately or you won't be able to use the Shuriken. All tools except the grapple will consume Spirit Emblems upon use. Press R2 to use the tools, and cycle through them by pressing triangle. This can be done in combat to chain different effects.Face General Naomori Kawarada
You may now return to Ashina Outskirts Wall - Gate Path Idol and continue with the level. Enemies have respawned, but you can ignore them and grapple to the rooftop ahead of you, above where you grabbed the Shuriken Wheel. Go left and you will see an item shining on a snowy ledge, it's 1x Pellet. From this platform, you can spot another Mini-boss ahead (General Naomori Kawarada). REMEMBER THIS SPOT Crouch and slowly make your way forward by dropping down to other ledges, then grapple onto the rooftop to get a good stealth angle for a jumping deathblow - this will make the fight a lot easier.
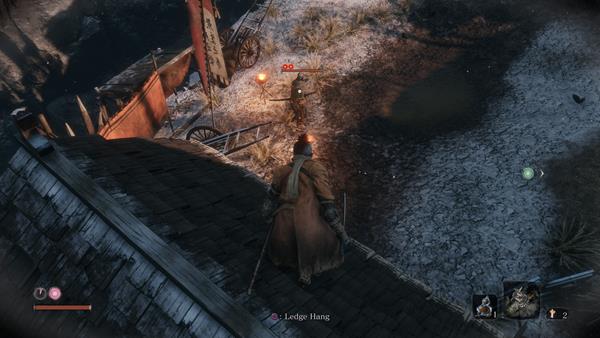
A warning about "Perilous Attacks" triggers on this fight - these are unguardable attacks shown with a "danger" Kanji. When these occur, watch carefully and try to respond properly as each type requires a specific response. You can press L1 as thrust lands to deflect, X before a sweep lands to jump, or Circle before a grab lands to step dodge.
Tips for the General: He has slow but far-reaching attacks. Your best bet is to counter after he has used his swing and jump with X to avoid the sweeping attacks that he does. He buffs himself during the fight, but at this time you can attack him so use this opportunity to further break his posture. Defeating the General Naomori Kawarada rewards you with 134XP, 33 Sen, and 1x Prayer Beads. These special upgrade items are offered to the Sculptor's Idol. Offer 4 of them to increase Sekiro's maximum Vitality and Posture. You will also obtain 1x Gourd Seed. Give the seed to Emma to increase the uses of your Healing Gourd.
Get your first Bundled Jizo Statue
Go back to the spot that the walkthrough noted to remember, and look down. This is a deep fall, but at the end of it, there will be a cave with a Bundled Jizo Statue. This item is extremely valuable as it can be used to refill your resurrection gauge.
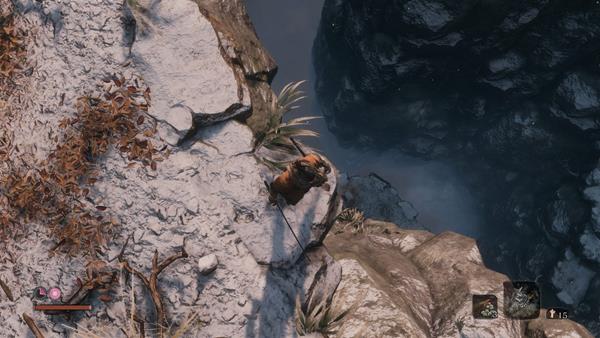
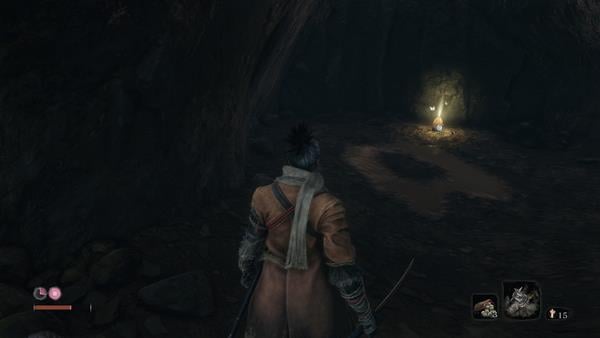
This will put you at the heading "Avoiding the Cannon" below, but you can double back and do Inosuke's Mother inverse.
Eavesdropping about Gyoubu
(This assumes you didn't take the drop above)
Inspect the woodpiles near where you fought the general to obtain 2x Fistful of Ash, then grapple onto the roof of the nearby gate to continue onward. Grapple your way to the top of the nearby Watchtower and you will have a good view of the enemies ahead. There's an eavesdropping opportunity, so wait until the two guards are together and grapple onto the branch above them. They comment on Lord Isshin being sick, Lord Genichiro being a powerful Bow Master, and their advantage in having "Gyoubu the Demon" on their side.
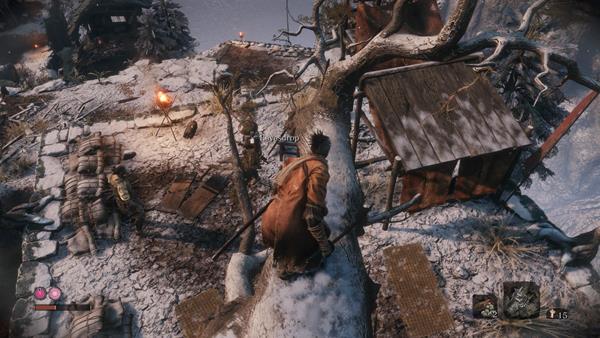
Be mindful that if you attack these enemies from the branch, several other warriors will trigger, including one Ashina Soldier (Matchlock Rifle) across. It is best to move back and thin out the enemies through stealth. If you are spotted, you can always grapple away and hide to defuse combat. Enemies are not alerted by fellow bodies, so you don't have to worry about not leaving them in plain sight.
The most challenging enemy of this group is the Ashina Soldier (Matchlock Rifle), so wait for the guards to reset and stealth up to his vantage point to execute him. Behind him, you can find 1x Ceramic Shard. From here, a group of 3 enemies will patrol the area. hide inside the room of the Ashina Soldier (Matchlock Rifle) and let them pass, then grapple to a ledge BEHIND the structure and drop down onto another Ashina Soldier (Matchlock Rifle). If you go back to the ground floor of the Ashina Soldier (Matchlock Rifle) structure, you will find 1x Mibu Balloon of Wealth.
Defeating the Larger Enemy
If you now return to the "Eavesdrop" position, you will see a Taro Troop (Wooden Mallet). You will want to engage this only after you have thinned out the rest considerably. Whenever you're spotted, you can simply run back to where you fought the General and combat will reset. You can kill the Taro Troop (Wooden Mallet) with 1 shot via stealth, if you prefer, he yields 31XP.
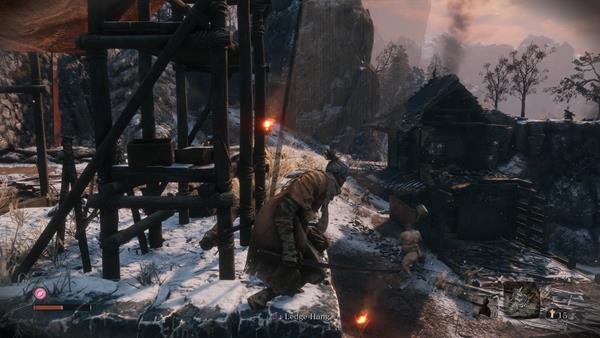
Now that all enemies are gone, climb up to the very rooftop of where the Ashina Soldier (Matchlock Rifle) was. You will find a nest that contains 1x Light Coin Purse. These purses act like "Soldier's Souls" and similar items in the Souls series, providing you with Sen that cannot be lost upon death.

Meet Inosuke's Mother
Grapple onto the broken house ahead of you and talk to the NPC here. This is Inosuke Nogami's Mother, who confuses her with her son. She gives you a Young Lord's Bell Charm and asks you to offer it to the Buddha. You can bring this item to the Dilapidated Temple to unlock the Hirata Estate location.
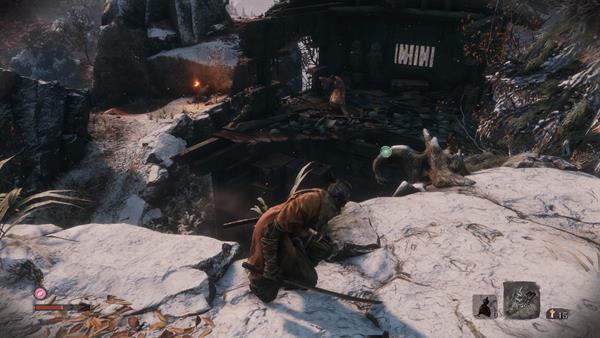
After talking to her, drop down and defeat 2x Gamefowl and then use your sword to break some crates, revealing an entrance. The first floor of the property has 3x Light Coin Purse.
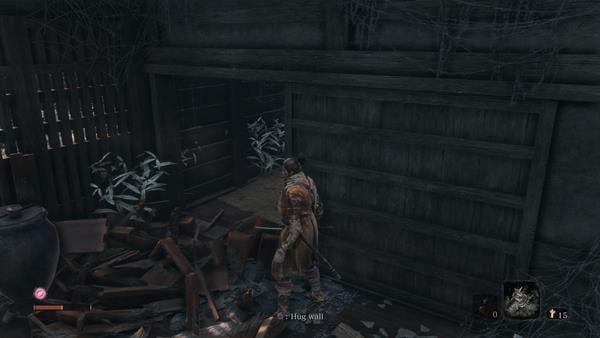
From the house, you can talk to a dying soldier near the house. He recognizes your voice, and it's Inosuke Nogami, a vassal of the Hirata family. She asks you to look into his mother, which you just did. He explains that she's senile and can't tell between people anymore. You can tell her you got the bells and put him at ease. He thanks you for humoring his mother.
Crow's Memorial Mob
Approaching the gate and bridge down the path from Inosuke will aggro a Cannon Enemy. Look left and up and you'll spot a grapple point. Go up and follow the sequence up to the top where you'll find the merchant Crow's Bed Memorial Mob. Buy Robert's Firecrackers as you can convert them into Prosthetic Tool: Shinobi Firecracker.
Avoiding the Cannon
To avoid this, double back to the first house where the initial Ashina Soldier (Matchlock Rifle) was, and the spot where you killed your second. There's a narrow path with dropdowns here. Take it and drop down to the tall grass beneath, where you will find 1x Gachiin's Sugar, an item used to improve your stealth for a while.
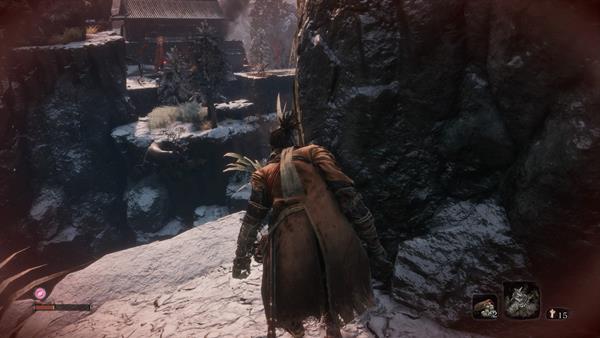
Jump across the cliff and make your way up and onto a grapple branch, this puts you a lot closer to the cannon enemy. Grapple again onto the roofs nearby, and slowly approach him from behind to execute a stealth deathblow. He will drop 39XP, Sen and 1x Black Gunpowder, an Upgrade Material.

From this vantage point, you can drop down to kill the Ashina Soldier (Matchlock Rifle), and then grapple back up to avoid the others. Rinse and repeat to clear the area. Proceed forward past the gate they where guarding and go down to the gate on the other side, you'll get 2x Pellet.
The Snake's Skin
Before going on with the level, look to the left and down from where the Cannon Warrior was standing. There's a grapple path to take. Jump and grapple and you will find the Giant Serpent's skin. Do not grapple onto the Triangular grapple yet - drop down one level to the right first and gather the Spirit Emblem and 2x Mibu Possession Balloon, then use the grapple so you can access the loot ahead. You will obtain 1x Scrap Iron, which is a valuable upgrade material for your Prosthetic Tools. Go around the corner and upwards to make your way back to the main path.

Outskirts Wall - Stairway Idol
Go up to the next large gate's rooftop, past a burning pile of corpses, and you will spot the next Sculptor's Idol ahead of a Gamefowl enemy. Dispatch the Gamefowl with a stealth attack and then jump and grab to make it to the Idol. If you fall, you can grapple onto a nearby roof and then jump and grapple from a higher platform. You are now at the Outskirts Wall - Stairway Idol. Since this is your first idol after getting Prayer Beads, a tutorial about Physical Enhancement will pop. You can spend Prayer Beads to create a Prayer Necklace, which will permanently increase your maximum Vitality and Posture.
A short trip back to Base
This is a good time to go back to the Dilapidated Temple and talk to Emma and give her the Gourd Seed you obtained. You should also talk to the Sculptor as you have upgrade materials to give him. He will give you a Shinobi Esoteric Text, which allows you to learn Shinobi Arts (Skills). This triggers a tutorial about Skill Points and Experience. He will further notice the bell you found, and tell you to offer it to the "Kind-Faced Buddha" that the true Sculptor made. Using the bell will take you to Hirata Estate, so let's avoid it for now.
Do not purchase any skills if you do not have 2 points. Your first skill needs to be Mikiri Counter, which makes a lot of fights a lot easier.
Your First Recollection
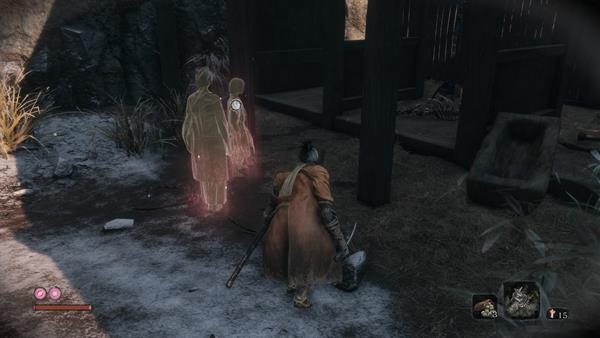
Return to Outskirts Wall - Stairway Idol and defeat the Gamefowl once more, then drop down to the ground level and approach the area with the reddish hue and 1x Spirit Emblem. Here you will see ghost-like figures. Approach them and interact with this "Recollection" to reveal a conversation between Kuro and Emma about the unfortunate involvement of the Hirata who attempted to protect the Dragon's Heritage. (Remnants come from Memories, Memories come from Bosses, this is not a Remnant)
Talk to Anayama the Peddler
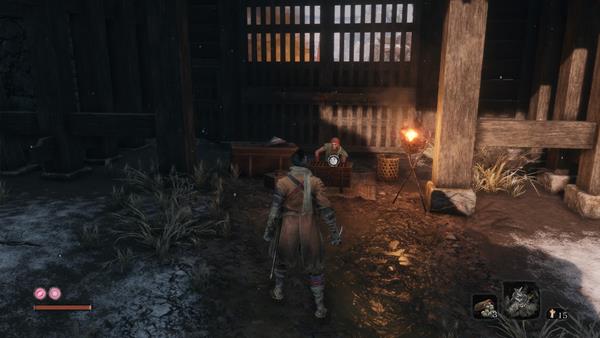
From the Remnants, turn around and look to the closed gate. If you approach, you will meet a former thief who is now a merchant. He claims to know you from "that night" which you cannot remember. He says if you do business with him he will also tell you about the night. This is Anayama the Peddler and he will sell you information for 50 Sen. Further information can be purchased for increasing amounts. You can find his information on his page.
Eavesdrop Opportunity: Red Eyes
After interacting with it, go through the broken planks in the back and up to gather 1x Spirit Emblem. Dropping down from that ledge will allow you to pick up 1x Pellet, and then jump onto the nearby fence to get an Eavesdropping opportunity. The guards discuss their unease at the Chained Ogre nearby and mention how enemies with Red Eyes are susceptible to Burn damage.
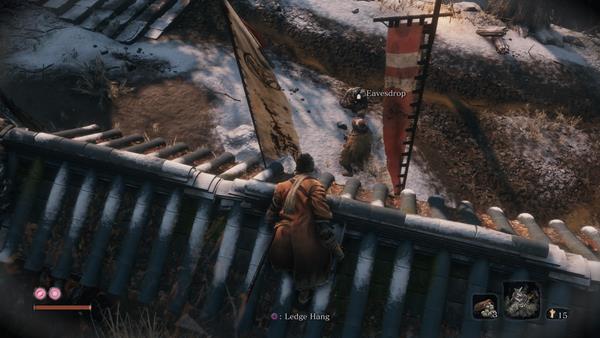
Defeat these two enemies and prepare for a rather tough Mini-Boss fight: Chained Ogre.
Facing the Chained Ogre
If you want to make this fight a lot easier, use your Homeward Idol and go back to the Dilapidated Temple, and interact with the Buddha Statue by selecting "Pray". This will offer the Bells you got from Inosuke's Mother, and take you to the "Hirata Estate" level. Here, you can obtain an item that gives you the prosthetic tool Flame Vent - which deals a lot of damage to the ogre.
There's a third enemy near the Ogre, so you should first lure it out and run it to a safe place where you can defeat it. The Ogre will regenerate its health if you run away from it, but this gives you a chance to get a Stealth Deathblow in and limit his health to one bar.
The Ogre has several attacks, including a deadly grab and a jumping two-feet kick slam. The grabs flash the "perilous attack" warning and can be dodged with Circle. The Ogre also has an AOE body slam. If you have the Flame Vent, wait for his grab attack and dodge it with Circle, then use the flame vent twice to set the enemy on fire. Attack with your sword to deal damage, then dodge his next grab. repeat this process until you defeat him
Defeating the Chained Ogre rewards you 100+XP, 1x Prayer Bead, and the Shinobi Medicine Rank 1 Latent Skill, which improves your healing items.
The Nightjar Monocular
The fog wall that impeded your progress is now gone, so after looting the 1x Balloon near the spear enemy's initial location, grapple to the rooftop above the Ogre's chains. Immediately after the opening, pick up 1x Nightjar Monocular. This item works much as the Binoculars did in Souls. The pathway to the right is locked, so first go left and pick up 1x Gourd Seed and 1x Ceramic Shard. The pathway to the right can be unlocked by heading towards the Headless, covered further down.
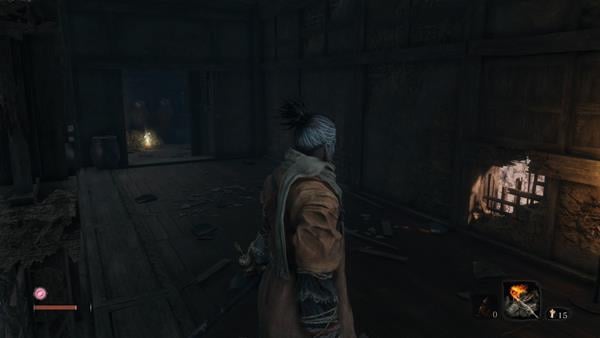
Mini-Boss: General Tenzen Yamauchi
Exit to the grass for a stealth kill on the Ashina Soldier (Matchlock Rifle) first, then disappear to the rooftops to plot more stealth. Make sure to thin out the enemies before confronting the general. Once all enemies are dead, approach from stealth to get one health bar down.
General Tenzen Yamauchi will attack with vertical and horizontal slashes, and learning when to dodge them is important. The Flame Vent is not very effective against him, but you might find the Mikiri Counter skill works well.
Defeating the General will give 155XP, 1x Prayer Bead, 1x Fistful of Ash. You should also loot the area behind him to get 1x Scrap Iron.
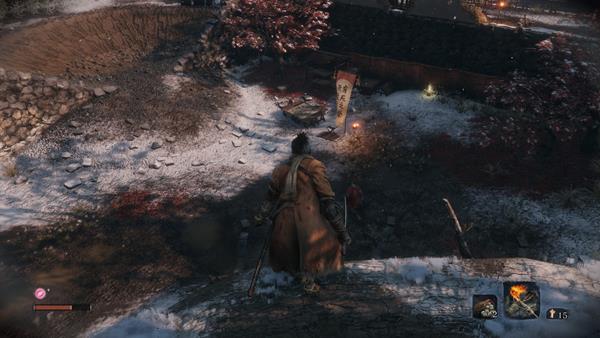
Path to Headless
Taking the main gate from the General Tenzen Yamauchi fight will lead players towards a special Mini-Boss: Headless. This is a very difficult fight that requires players to use Divine Confetti to deal damage, whilst being constantly slowed by a Terror aura that causes miasma and fills a gauge.
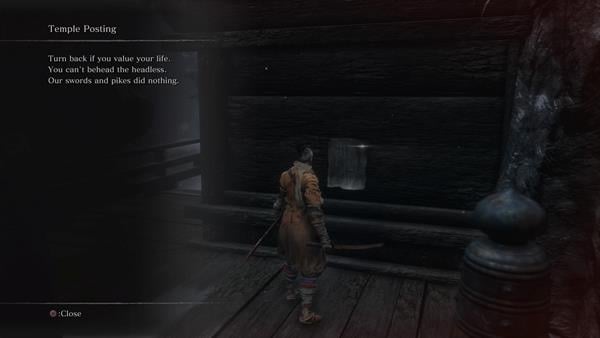
It is advisable for players to avoid this area for now. If you wish to open the locked door found earlier, head towards the cave. Grapple onto the branch, and leap down towards the ledge. Shimmy across until you can climb up, and hop down towards the cave. As you enter the cave, the light will eventually diminish. Venture further, clinging to the right wall until you hit a fork. Continue towards the right, leading to an opening and several emblems. Exit the chasm, and grapple up the cliffs, leading to a dilapidated wall. Dispatch the two Geckos, picking up the 1x Gachiin's Sugar, then grapple through the broken wall. Grab the 1x Divine Grass and the 1x Antidote Powder. Open the door to open up the shortcut.
Path to Underbridge Valley Idol
Go back toward the gate and the area where you cleared Ashina Soldier (Matchlock Rifle). There's a broken bridge. Drop down and you'll be attacked by a poisonous Gecko if you approach. Use a Shuriken instead to kill it, then pick up 2x Pellet.
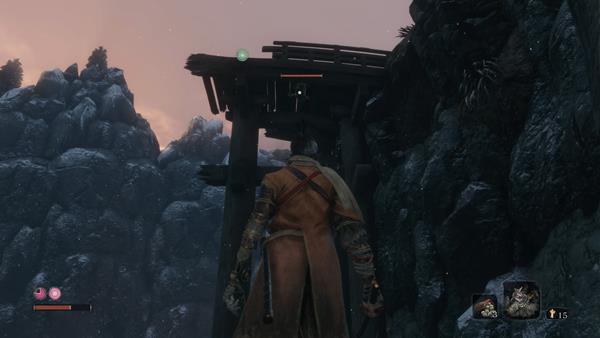
Commune with the Underbridge Valley Idol to unlock it, and rest if needed. Drop down to the lower ledges and press on, past 1x Spirit Emblem. Continue on following the drop-downs and grapple-hook mid-air to make it across the valley.
The Great Serpent
As you go down, there will be tremors. Watch out for the Great Serpent that is passing by. You have to watch its movements then jump across twice and get into a cave as fast as you can. Inside the cave, you'll get 1x Spirit Emblem. Go forward and the snake will be there again. Use the walls to hide from it then jump and grab the grass ahead. From the grass, you need to wait for the head of the snake to pull back and go left toward the huggable wall.
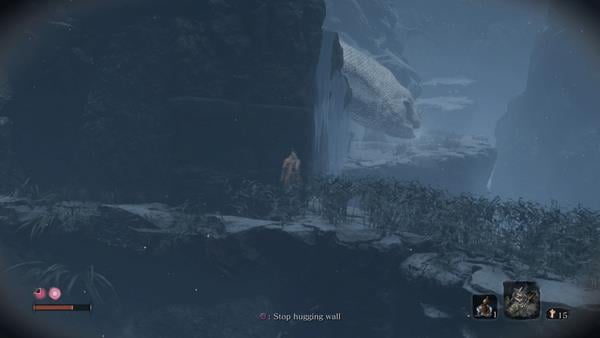
You need to shimmy across the narrow area and make it to the Palenquin on the other side, then hide inside using square and wait for the Serpent's eye to get near. Press R1 to attack it. It will flail about, giving you a chance to run to 5x Snap Seed near its head. But beware, you can be damaged by the rummaging. Players can forgo getting the Snap Seeds until they reach the next Idol and then retrace their steps as the snake will not be there.

You now have to run past it and up to the left until you make it to the safety of a cave, then grapple across back to the main grounds of the castle. When you reach stable ground, look left and you'll find 1x Ako's Sugar.
Ashina Castle Gate Fortress Idol
After grappling to stable ground from the Serpent area, go right and commune with the Ashina Castle Gate Fortress Idol. Kill the rat enemy to acquire the Herb Catalogue Scrap. Pick up 1x Gachiin's Sugar next to it, and then jump onto the wall to get a view of the area. There's an Eavesdropping opportunity here, but first, you must kill the large enemy that roams about. He can drop 1x Mibu Possession Balloon and can be stealth-defeated. The eavesdropping talks about smoke coming from the castle, and Gyoubu the Demon defeating any attackers.
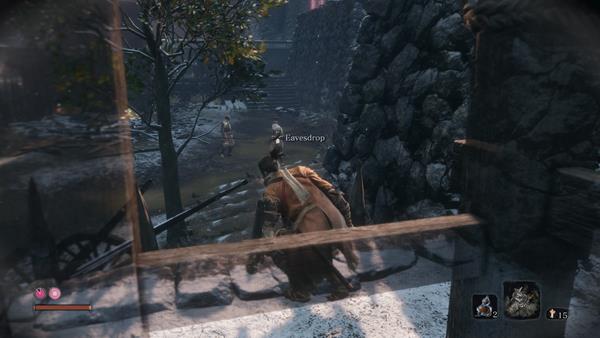
Behind the platform that had a Ashina Soldier (Matchlock Rifle), there's 1x Ungo's Sugar. Underneath it, there's 1x Ceramic Shard and 2x Mibu Balloon of Wealth, as well as 1x Heavy Coin Purse.
Remnant: Kuro and Genichiro

Grapple to a nearby ledge and you can see Kuro and Genichiro conversing, with the Divine Heir warning Genichiro that using his blood will lead to becoming a monster. Genichiro thinks he can do it to prevent the slaughter of his people.
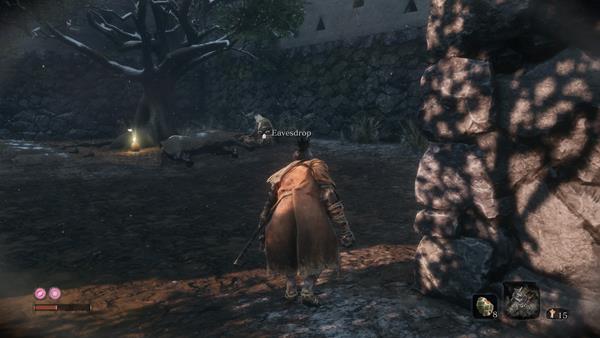
Continue up and take out the Ashina Soldier (Matchlock Rifle) ahead, then approach a guy kneeling by his horse for an Eavesdropping opportunity. He is very upset about the death of his beloved mount. You can pick up 2x Fistful of Ash nearby, then go up the stairs to get 1x Pellet. The gate here is locked, so go back down to the broken wall area and proceed that way.
Boss Fight: Gyoubu Masataka Oniwa
Drop down to the arena and pick up 2x Fistful of Ash. As soon as you do, the boss will break through a nearby door and attack you. See the Gyoubu Oniwa page for details on how to tackle this fight. Defeating this boss gives 1,000 XP, 1x Memory: Gyoubu Oniwa and 1x Mechanical Barrel, that enables you to perform Prosthetic Tool Upgrades at the Sculptor.
Sculptor's Idol: Ashina Castle Gate
After the boss fight, go to a nearby gate and commune with Ashina Castle Gate Sculptor's Idol. A tutorial for Enhancing Attack Power will follow, which is done by consuming Battle Memories obtained from bosses. Consuming the memory will turn it into Remnant: Gyoubu.
NPCs & Shortcut
Now, instead of going up ahead after opening the Gate, go back and climb the large stairs near a red and yellow banner. From the top, turn right and go around the wall to find 1x Ceramic Shard. and then up a set of stairs to find a merchant: Battlefield Memorial Mob. You can sell your Coin Purses to him to get gold and purchase Robert's Firecrackers and Gourd Seed, which are useful upgrade materials.
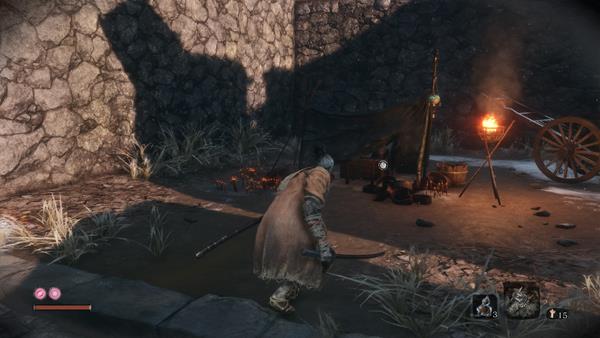
Now backtrack and enter the temple, and you will find another NPC, wearing a Tengu mask. This is the Tengu of Ashina - and he puts his weapon away and calls you "Sekiwan no Ro" - Sekiro (The One Armed Wolf). He asks you to "hunt rats" with him. Accept and you'll obtain the Rat Description key item. It explains that the rats are short, bamboo-hat wearing assassins from Senpou Temple, seen around Ashina Castle Gate. Defeating the Rats and returning will grant players the Ashina Esoteric Text.
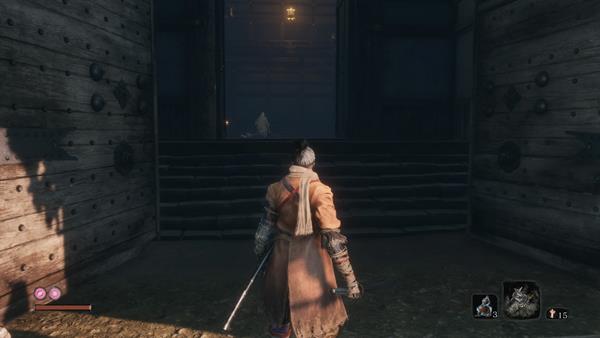
To the right of the Tengu, there's 1x Pellet, and an "Old Hag" holding an oil lamp as well. She has little dialogue that comments on the war is never-ending. Right by her, there's a gate you can unlock. This takes you back to the area where you saw the Remnant of Kuro and Genichiro.
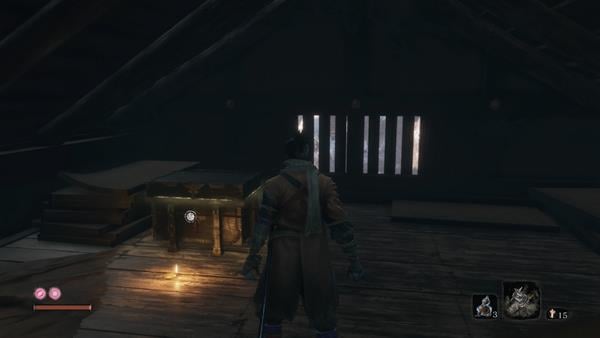
Now go upstairs and gather 1x Light Coin Purse on the first floor, then grapple upwards twice, go around the beams and jump and grab onto the broken pillar to access the top portion of the structure. The top area has a treasure chest, interact with it to obtain 1x Prayer Beads.
Finish Hirata Estate
If you haven't done so yet, this is a good time to go to Hirata Estate and complete the level. From there, you'll want to proceed forth to Ashina Castle, that is found past the Ashina Castle Gate Sculptor's Idol.
Ashina Outskirts after Fountainhead Palace
After completing Fountainhead Palace, players will have the option to revisit Ashina Outskirts. The area is accessed from the Old Grave Idol area in Ashina Castle and has some new enemies and items. Go down the hill from the idol and cross the bridge and commune with the Underbridge Valley Idol first to re-unlock.
Mini-boss: Shigekichi of the Red Guard
Behind the bridge enemies, you can loot 1x Ministry Dousing Powder. The way to Headless has 1x Divine Confetti and 1x Adamantite Scrap. Thin the enemies in the area to face mini-boss: Shigekichi of the Red Guard. Defeating him gives you 1x Prayer Beads and 3310XP
Cannons and Swords
After the boss, there's 1x Gachiin's Sugar to pick up in the passageway leading to where you first fought the Chained Ogre. The area where the Chained Ogre was, now has 1x Fulminated Mercury. Ahead of you toward Anayama's Shop, you'll face 1x Flamethrower enemy, 1x Dual Wield and 2x Musket enemies. Deal with them as you see fit (best to divide and conquer) and get 3x Fistful of Ash and 2x Pellet from the area, plus spot Anayama's body. The watchtower has 1x Adamantite Scrap.
Unlock Outskirts Wall Idol
Keep Backtracking from Outskirts Wall Stairway Idol. You can get 1x Adamantite Scrap near the gate down from where you met Inosuke Nogami. The area nearby has several tough enemies. Pick up 1x Ministry Dousing Powder and 1x Lump of Grave Wax as you make your way through. There's also a Chained Ogre roaming the area but he can be 1 shot with stealth and only gives 1500XP. Near the ogre, pick up 1x Fulminated Mercury and 3x Pellet.
Boss: Demon of Hatred
Further ahead, you'll find a burning area and some dying red samurai NPCs. Beyond them is the Flames of Hatred Idol, where you can fight the Demon of Hatred. You will receive 15,000XP, 2x Lapis Lazuli and Memory: Hatred Demon.
After this, you can pick up 1x Lump of Grave Wax on the staircase leading to Battlefield Memorial Mob. The old woman inside the temple moved, she asks you if you know who the demon was, and pities his fate. She says it was a mercy to end its suffering. Pick up 1x Dragon's Blood Droplet then. You should now head to Ashina Reservoir to finish the game.
Video
Map
[map goes here]
Trivia & Notes:
Trivia and notes go here
I'll be honest. I was seriously contemplating just skipping this game cuz I was stuck on General Tenzen and the shinobi hunter. I did eventually beat both of them, however, I will say that perhaps this games biggest flaw is how tedious it is clearing out all the minions around a mini boss.

 Anonymous
THIS IS AN END GAME QUESTION AND WILL PROBABLY COUNT AS SPOILERS!!! NOT SURE IF THIS MESSAGE WILL SHOW UP ON THE FIRST VISIT PART OF THE PAGE BUT JUST IN CASE HERE IS YOUR WARNING. can you not re-explore the rest of ashina outskirts anymore? i've been trying to see if i can get back to the first 2 sculptor idols and i cant find a way to get back to them again. for clarity, the 2 idols I'm talking about are the ashina outskirts idol and the outskirts wall-gate path idol.

 Anonymous
This game is too damn hard, I put it down and started playing Stardew Valley.

 Anonymous
Added the information on how to open up the quick shortcut leading to the Headless in the cave below, through the locked door found immediately after the Chained Ogre. A lot of people were asking, and I couldn't find the information anywhere. Hopefully this helps people with that damned door.

 Anonymous
To get past monocular door you go down headless path & turn right after the crouching tunnel & come back up. Also the 1st remnant change to recollection is wrong those are remnants. Walk up to one & it says touch remnant.

 Anonymous
a little bit info or a trivia i guess. In an area where you fought General Tenzen Yamauchi (after chained ogre), you can find a large table beside General's banner. On it, is a complete layout map of Ashina Castle compound

 Anonymous
hello All. When everything is on fire. Climb the roofs. If you are starting from the Ashina Castle Waypoint. start climbing the roofs on the right and go towards the castle. So you wanna go right of the caste when facing towards it. you should see 2 x night jar fighting another 2 red eye nightjars. Look for a kite to grapple on and that should take you to the old graves way point and I think that should get you to the next few areas.

 Anonymous
How do i get to ashina reservoir after the castle is set on fire?

 Anonymous
 Anonymous
Any idea how to open the door right on the binocular location ? It seems there's an item here, but I didn't find any path to get to it.


someone please reply: I forgot to re-activate the old grave idol before the endgame, and now i can't find a way to get into it. is there a way I'm not seeing, or am I screwed?
18
+15
-1