Tokujiro the Glutton |
|
|---|---|
 |
|
| Location | Ashina Depths |
| Deathblow Markers | 2 |
| Useful Tools | Flame Vent Great Feather Mist Raven |
| Sen | NG: 135 NG+: 337 NG++: 506 |
| Reward | Prayer Bead Unrefined Sake |
| XP | NG: 1285 NG+: 3212 NG++: 4818 |
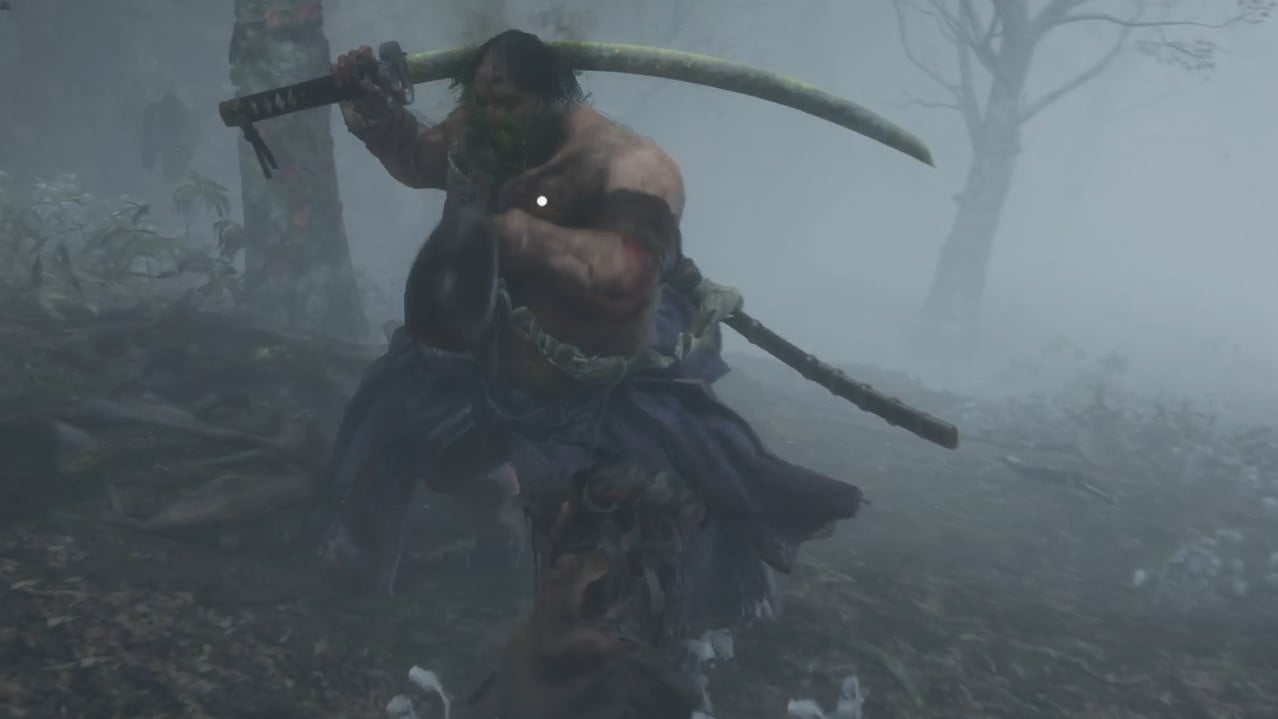
Tokujiro the Glutton (牛飲の徳次郎, Tokujirō the Tosspot) is a Mini-Boss in Sekiro: Shadows Die Twice. This Complete Tokujiro the Glutton Mini-Boss Guide gives you strategies on how to beat Tokujiro easily, as well as tips, tricks and lore notes. Mini-Bosses are special Enemies that are uniquely named, and have 2 or more health bars. This means they require at least 2 Deathblows in order to kill, they are generally much more difficult than normal enemies, and they drop some of the best loot in the game.
Tokujiro the Glutton Location
Where to find Tokujiro the Glutton Location in Sekiro?
- Ashina Depths: Found after the Hidden Forest Idol when heading to the left up some branches.
- This boss is optional.
Tokujiro the Glutton Rewards
What do you get from defeating Tokujiro the Glutton in Sekiro?
- Prayer Bead (If you already have this Prayer Bead, you will receive 1x Heavy Coin Purse )
- Unrefined Sake
- 1,285 / 1,542 (without Kuro's Charm) Exp (NG)
- 3,212 / 3,855 Exp (NG+)
- 4,818 / 5,782 Exp (NG+2)
- 14,456 / 17,347 Exp (NG+7 and beyond)
Tokujiro the Glutton Notes & Tips
- You can Backstab Deathblow one health bar from him.
- Flame Vent and Great Feather Mist Raven both work great to set him on fire.
- The monkeys surrounding him are not immune to the Finger Whistle Prosthetic tool, on top of this one of them has a gun and is in a position where he cannot reach it. If done correctly he can be kept too distracted the entire fight to be much a threat to you.
Tokujiro the Glutton Lore
- Lore notes, information on folklore, etc go here
- Lore theories should be clearly marked as such.
Tokujiro the Glutton Mini-Boss Guide Strategies
Sekiro Tokujiro the Glutton Video Strategies
Sekiro Tokujiro the Glutton Strategy Writeup
This boss is pretty much the same as Juzou the Drunkard, however, the fight takes place in a much smaller area, and the player doesn't have the option of getting help from a NPC. The same strategy as Juzou's can be employed here while considering the aforementioned conditions.
In a similar fashion to Juzou, Tokujiro is surrounded by other enemies (monkeys, precisely). It is advised to dispose of them before engaging on Tokujiro. The player can easily dispatch them and proceed to lose track of Tokujiro, so a Stealth Deathblow can be dealt. Fortunately, the area where Tokujiro is fought has a high ground which can be reached with the Grappling Hook, allowing the player to bait the monkeys before dealing with Tokujiro. Alternatively, the Finger Whistle Prosthetic Tool can be used, making the monkeys around him start to attack him, distracting him and dealing damage
It is possible, due to the size of Juzou, to get him stuck on the small hut doorway near the camp fire. This can allow the player to use flame vent and apply burn and wait out the ticks before applying another. He does get free after a while but it can provide that small bit of respite. Once free its recommended to kite him through this little hut, giving out an attack when there is a piece of wall between you and him as this will force him to use an attack. Because of the distance between you he's much less likely to spit poison mist or sip from his cup making him much easier to cope with.
Tokujiro the Glutton Image Gallery
 Anonymous
Juzou destroyed my ass over 20 times, as he was my first named boss after the tutorial generals. This guy I killed on the second attempt once I managed to get rid of the monkeys cleanly, and without much effort too. Getting good feels good, man.

 Anonymous
using puppetry on the monkey with the rifle to split the aggro worked well for me

 Anonymous
In all honestly, I accidentally skipped this guy. I went and defeated the Mist Noble without even giving this guy a bother... it's a shame I can't go back and defeat em.

 Anonymous
 Anonymous
this better be a twin, or else they were just ****ing lazy on this one

 Anonymous
 Anonymous
My lore on this guy is that he is hired by Inner Ministry in search of Mibu Village Fountain Head Palace. It is evident that Inner Ministry is trying to find the Fountain Head Palace by the Long Shadow at the entry of Mibu Village. However, not as swift and agile as the Long Shadow colleague, Tokujiro eventually got lost in the Mist and cannot find a way out.

 Anonymous
can confirm that he still drops both the sake and the prayer bead after killing mist noble, o’rin of the water, and the corrupted monk (illusion form)

 Anonymous
Start with the stealth attack. His attacks are very parsed and easy to deflect--stay at mid range to avoid his sweep/grab and deflect his sword attacks. Wait for him to drink or to try to spit at you and hit him with a 2 part mortal draw combo to nuke his health and his posture. Rinse and repeat until his posture fills or his health is 0!

 Anonymous
Shortly past where he is there is a ledge that runs around the cliff to a loot pile with some pellets. Have him chase you and then jump off in order to grab the ledge. He will run off the end and die. I honestly wish I hadn't done that but I just realised you can cheese him quite badly by accident. Always good if you're in a rush

 Anonymous
My lore on this guy would be that he was the twin brother of Juzou, and when his brother died because of you, he was left an orphan for 3 years; his only family were the monkeys found in the Hidden Forest. He may also be called a glutton for how much he ate after fending off the woods from trespassers. As such, he shares the same fighting style and shares his Murakumo skills that he learned from his brother.

 Anonymous
Why is the video strategy to stay away from this guy? Get in close! He takes a long ass time between very readable swings!

 Anonymous
I used rather cheap hit and run tactics after clearing the monkeys and getting a deathblow in from behind for a easy win. Stay on the cliffs on either side until he takes a swig of his gourd leaving him wide open, jump down as the animation starts and get 3-4 swings in, zip back to a cliff, and repeat. He also seemed to never guard against the shuriken while on the cliff so you can used that to get the extra damage as you wait for him to drink.

 Anonymous
This mini-boss is still available after killing the Mist Noble. You may need to reload the area. Just go to the house in which the Mist Noble was, face the main entry and turn around and go up the small hill through the opening from the right of the path where you can stick to the wall to reach a higher area - I mean the "horizonally scratched blueish wall" area, indicating you can stick to the wall. But do not stick to the wall, just go right through the opening.

 Anonymous
 Anonymous
I fought him while the mist was still around... but when I did, every time I put some distance between us, like any at all, he just sat there like an idiot until I hit him again. He wasn't offensive at all for me. It seemed broken. I think I got lucky.

 Anonymous
Disappeared after i killed Mist Noble, reappeared after i reloaded location ... oof, and i already started lament loss of bead

 Anonymous
Kill the monkeys, go past the boss and jump off the cliff. You will respawn in the battle arena with the boss unaware if your presence, thus allowing you to quickly stealth kill him and removing one of his health bar

 Anonymous
If you use the finger whistle, then it will make the sniper monkey on the cliff shoot him. It distracts him constantly and makes the fight incredibly easy. The other monkeys around him will fight him too, but he kills them quickly. He can't do anything about the sniper monkey

 Anonymous
 Anonymous
From this cliff where you can jump down to him, the entrance so to say, if you run and jump on the right, there is a point where you can grapple. It shoots you to this little platform behind him. So the "pretactic" is to go in, kill the monkeys, go back to the wall huging part until the music is over and the yellow triangle is gone. Jump to the platform, backstab him and fight only for one deathblow.

 Anonymous
He just threw himself into the abyss when I tried to run past him. Be careful, you might end up missing out on a prayer bead like I just did.

 Anonymous
 Anonymous

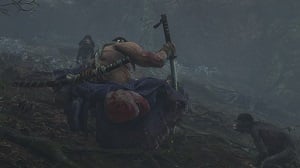
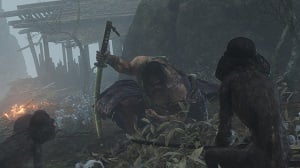
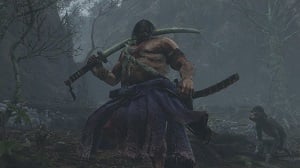
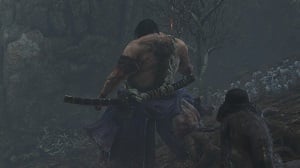
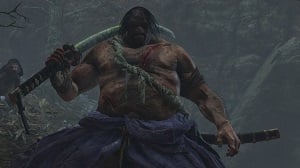
This is the definition of a copy paste boss. Exact same move set as Juzou, no reason at all why he is at Ashina Depths, and there is no difference in appearance at all between this guy and Juzou. From just need an extra prayer bead. Disappointed>:(
0
+10
-1