Ashina Reservoir is a Location in Sekiro: Shadows Die Twice. This location serves as a starting area and tutorial for the basic mechanics of the game. Wolf finds himself at the bottom of a well until a mysterious women delivers him an Ornamental Letter. His new objective is to reach Moonview Tower.

General Information
- Previous: N/A
- Next: Dilapidated Temple
- Bosses: Genichiro Ashina/Leader Shigenori Yamauchi
- Sculptor's Idols: N/A
Video Walkthrough
Map
[map goes here]
Bosses
Items
Quick Items
- 3x Pellet
- 2x Fistful of Ash
Equipment & Upgrades
Keys
Enemies
- Gamefowl
- Senpou Assassin ("Rat")
- Ashina Soldier (Katana)
- Ashina Soldier (Hassou Stance)
- Ashina Soldier (Matchlock Rifle)
- Sentry
Full Ashina Reservoir Walkthrough
Moving Forward
Sekiro is very low on health as the game starts, but there is no danger of combat for the time being. Proceed forward, pick up the Ornamental Letter, and then go through the tutorial. X to Jump, X near a wall to Double-Jump. You will emerge to a snowy pathway, look behind you and proceed that way to find a broken section of the floor. This is where the letter was dropped, and there's no reason to jump down.
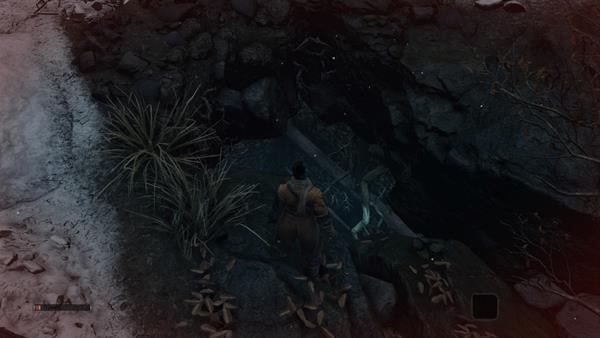
Go back to the tunnel exit and proceed forward and you will be instructed to press Square to wall hug. You can know which walls are huggable by white scratchings on them. Once you hug a wall, use the directional L button to shimmy alongside the edge. Pressing L toward the edge of the wall will trigger a "Peek" view that allows you to see what is ahead without exposing yourself.

Once you're ready, press Square to let go of the wall and the Stealth tutorial will begin. You must get past these guards undetected, as you have no sword. You can listen in on a conversation that they have about Sekiro having lost his will to live and being of little concern.
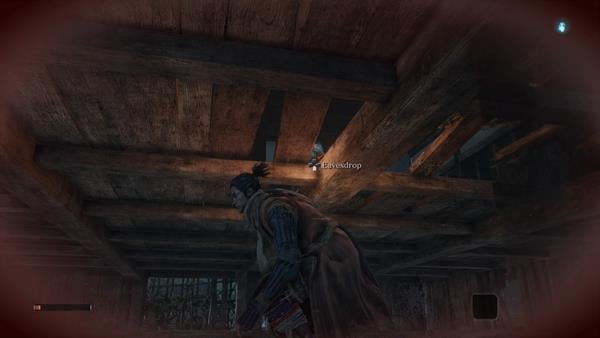
Click the Left Thumbstick to go into stealth on the grass and slowly make your way to the left. You will be prompted about "Underfloor Movement" - Wolf can slip into tight spaces such as beneath floors when crouched. Follow the grass to the underfloor of a nearby structure. Here you have your first opportunity to Eavesdrop. Look up, on the broken floor and press down on the Dpad to trigger this conversation. The "Eavesdrop" icon gets a red "tick" marker when you have listened to the conversation.
Proceed to the other end of the underfloor and exit through some more tall grass. Another Eavesdrop position will appear, where the soldiers mention a broken portion of the tower. The gate is locked, but you may be able to get in through this broken wall.
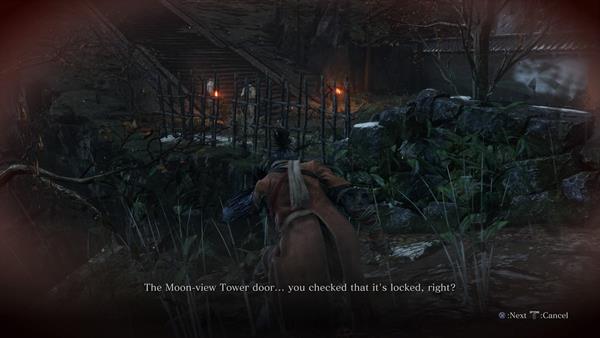
You will now get a tutorial to Ledge Hang. Similarly to Wall Hug, you press Square to hang from a ledge, then the directional L thumbstick to move alongside it. Press Square to climb back up. You can recognize climbable walls by the white paint on the edges, so be on the lookout for it when exploring.

Shimmy to the end of the ledge and then jump across a broken stone bridge to continue forward to another ledge, this time you have to jump (x) then press Square in mid-air to grab onto the surface. Shimmy works the same way as before, so just use your directional thumbstick to move along the edge and then square to climb up. From here, jump up to higher ground and then jump and grab again to hold onto the ledge of the tower. A nearby hole to the left will grant you entry.

Meet Kuro, the Divine Heir
A cutscene plays, and Kuro will be grateful for your presence, and give you your Katana: Kusabimaru, and ask for your life as a pledge of service. This unlocks the first trophy of the game "Revered Blade". You may now talk to Kuro and he will mention that you are wounded, and give you the Healing Gourd. This item acts much as the Estus Flask did in the souls series, giving you a limited amount of heals until you rest at a Sculptor's Idol. Kuro will ask if you were further wounded "after that", and Sekiro will reveal he does not remember what "that" is and what happened "that night". Kuro says you can talk about it later and tasks you with helping him escape Ashina Castle.
He mentions there's a secret passage beneath the mote's bridge, that he heard from Lord Isshin about it. You are to find this passage and then do a "reed whistle" so that he knows to join you at that time. After this, a tutorial for Quick Items displays on the screen: Cycle through them with the right and left D-pad buttons, and use by pressing up on the Dpad. It is important to note that you MUST slot items manually, so make sure to slot your Healing Gourd and heal right away. Do not slot anything unimportant or not urgent here or you might accidentally use it in combat.
Before exiting through the main door, go upstairs and you can collect a Pellet quick item. These act as the gems of Dark Souls 2, giving you slow and steady Vitality recovery over time.

Heal yourself from your wounds and open the door. You can now crouch and go forward and attempt to avoid combat, or you can engage with the enemies ahead. You will receive a tutorial for Posture and Deathblows. You will also be told you can lock onto targets by clicking the R3 button (right thumbstick) - this works very similarly to how it did in the Souls series. From here, you will be given a Deflection tutorial. Deflecting is not the same as Blocking nor is it the same as "Parry" from the souls series, so be prepared to approach it in its own unique way.
There's a gate with 4 guards ahead, you can climb onto the rooftops and get one out of the way by jumping down and pressing R1 as his lock-on indicator turns red.
Your First Mini-Boss
From here, you will be faced by Mini-Boss Leader Shigenori Yamauchi. A Counter-slash tutorial will show, telling you to deflect with L1 just as an attack lands, and pressing R1 to execute a counter. You don't have to do this to defeat this enemy, you can just fill up his posture gauge and execute a Deathblow. You will, however, receive a tutorial that Mini-Bosses require several Deathblows to be defeated, which is indicated by the red circular icons on the top left of the screen where their name is displayed.
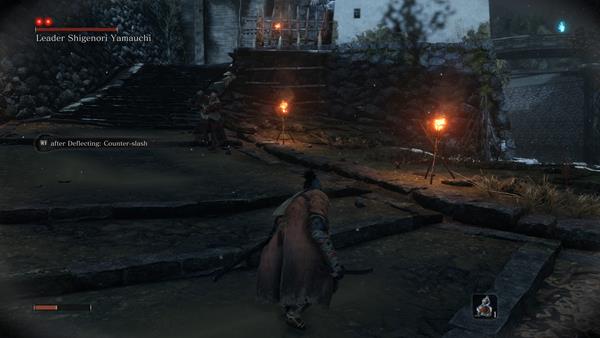
Defeat him blocking his attacks and countering as best you can. Be mindful that, contrary to souls, you should ALWAYS HOLD BLOCK. Holding Block makes your Posture regenerate faster, so it's invaluable. Once you have defeated him, you will obtain 1x Pellet and can continue forward.
The gate ahead cannot be opened from this side, so go right from the gate, and there will be an item on the ground. This is a Fistful of Ash and is used to temporarily blind enemies. You will see a branch ahead, you need to jump and grab to hold onto the ledge and then pull yourself up to continue. You could alternatively hug the wall on the left side and shimmy across slowly.
Ahead you will receive a tutorial for "Wall Jump Ledge Hang" which is just informing you that you can press Square to hold onto a ledge after executing a wall jump. Much like the other mechanics, a scratched surface is indicative of something ahead. Go up the wall and you'll have an opportunity to eavesdrop on some guards who are on the bridge. They will talk about the passage at the bottom of the moat, and how security has been sent there as well.
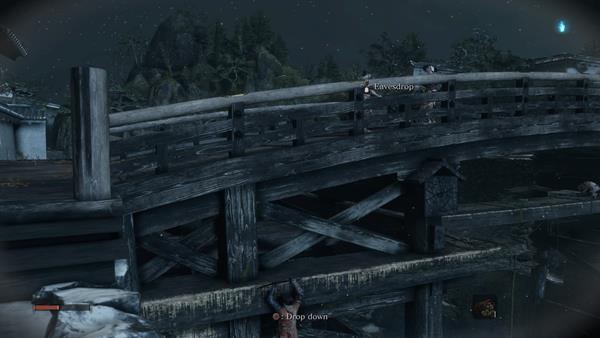
From here, continue along the ledge and climb up, then you can approach the enemy nearby. This is your first Straw-Hat enemy, be mindful that they have a powerful grab attack. After defeating him, walk toward the ledge, hang, shimmy and drop down toward an item. Pick up 1x Pellet and continue onward and down. This door is the point for your "Reed Whistle" to Kuro. Pick "Yes" to trigger a cutscene, where Kuro will approach and thank you for finding the gate, and say that it is a shame that all he can do is run from the Fated Bloodline. You can talk to Kuro, who ponders what to do once you escape.
The Escape Path & First Boss
Go forward the passage and up the stairs and a cutscene will trigger. You will meet Lord Genichiro Ashina, who is an unavoidable fight. He will attack with powerful "Perilous Attacks" that you are not equipped to handle, so you'll be defeated. He cuts off Sekiro's Arm and takes Kuro with him.

The Sculptor & Prosthetic
A cutscene plays that shows the Sculptor carving Buddha statues, and the Wolf awakening from rest, only to find his lost arm replaced with a strange prosthetic. This is the Shinobi Prosthetic, which triggers the trophy of the same name. You are now in the Dilapidated Temple
Video
Map
[map goes here]
Trivia & Notes:
Trivia and notes go here
General Information
- Previous: Ashina Castle
- Next: Abandoned Dungeon
- Bosses: Seven Ashina Spears - Shikibu Toshikatsu Yamauchi/Lone Shadow Longswordsman
Map
[map goes here]
NPCs in the area
Bosses
Items
Quick Items
- 1x Heavy Coin Purse
- 2x Ceramic Shard
- 2x Mibu Possession Balloon
- 1x Bundled Jizo Statue
- 1x Spirit Emblem
- 5x Pellet
- 1x Fistful of Ash
- 2x Ministry Dousing Powder
Equipment & Upgrades
Keys
Enemies
Ashina Reservoir Walkthrough
Ashina Reservoir is revisited later in gameplay after players have access to the Ashina Castle area. There are two ways to access this section, but it is recommended that you first obtain the Gatehouse Key.
Obtaining Gatehouse Key
From Ashina Castle Idol, walk a little bit back toward where a praying woman is, and jump and grapple to make it across the moat. If you fall, you'll get 1x Spirit Emblem and can grapple back up from the other side. Once across, go left inside a building to pick up 1x Light Coin Purse.
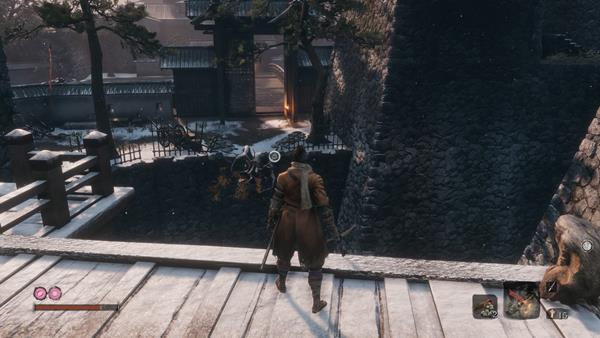
From the gate, take a moment to eavesdrop on the enemies, who will comment on putting armor on someone from "Taro's Troup". They say it is an unwieldy thing that might come off surprisingly easy. Defeat the enemies here to get 1x Gatehouse Key. Now go back to Ashina Castle Idol.
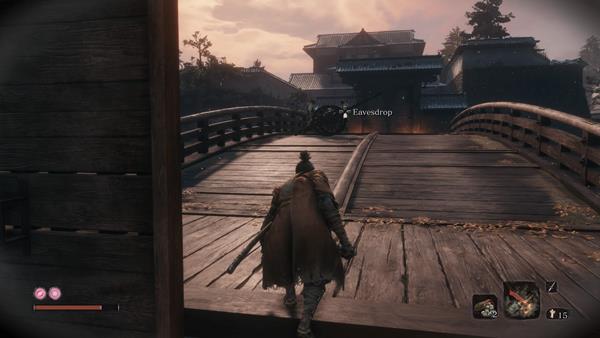
Ashina Reservoir Idol
Walk a few steps from the Ashina Castle Idol and interact with a remnant to see a short memory of Kuro and Emma. Kuro says he will use the "Reed Whistle" from Ashina Reservoir times to call upon you, the Wolf, this time.
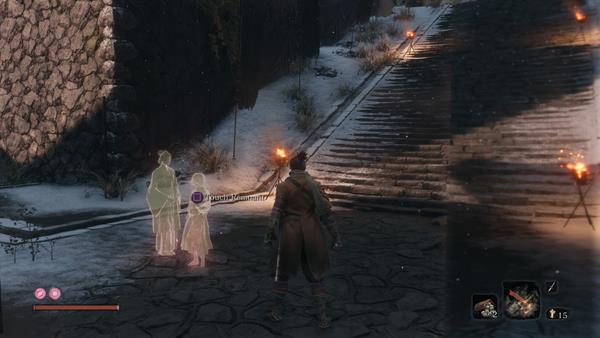
Go left from the Remnant and jump over a wall to tall onto some water. Grapple out and you'll find 1x Scrap Iron and 1x Mibu Possession Balloon. From here, you can open a nearby door to go into the structure nearby. Go inside and open another door and you'll emerge at the courtyard you were before jumping the wall (near the remnant). You can now drop down and pick up 1x Pellet and unlock the nearby door. This is the closed gate from the tutorial, right next to Ashina Reservoir Idol.
Eavesdrop Opportunity
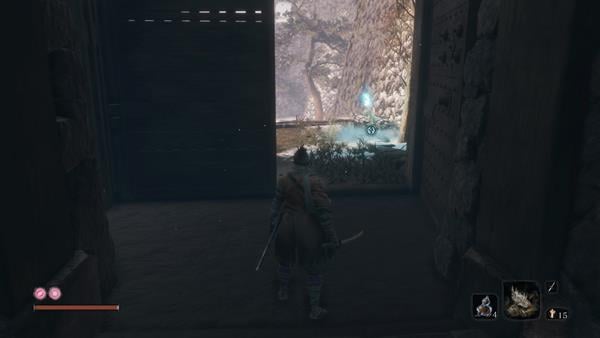
Immediately after the idol, you can eavesdrop on a couple of enemies ahead. They talk about a shinobi seen around these parts. You can now defeat them and the guarding dogs to proceed. As always, shurikens are great for the dogs!

Grapple onto the rooftops ahead and you will see 2x Taro Troop (Wooden Mallet)s on the area ahead, and 1x Ashina Soldier (Matchlock Rifle) to your left. Deal with the rifle-wielder first by grappling onto the ledge near him but be mindful this will make an alarm-enemy go off just behind him. Fortunately, the crowd is unlikely to come here, so kill the banging mob and then hide to wait for yellows to reset.
Obtain the Loaded Spear Material
Look towards Moon-View tower, and you will note the house where you first learned about underfloor sneaking. This time, you have the key to this door, so approach it and open with the Gatehouse Key you obtained by the bridge near Ashina Castle.

Inside this room (where you also learned about Eavesdropping), there is 1x Heavy Coin Purse and a chest containing Gyoubu's Broken Horn. This is an Upgrade Material that is used to create the Loaded Spear Prosthetic Tool.

Continue Toward Moon-View Tower
Go under the floor of the house (past 2x Ceramic Shard) and emerge from the other side to defeat 1x Ashina Soldier (Matchlock Rifle). If you stealth away again other enemies will come to investigate, giving you further chance to stealth them. The large enemies give 90XP and may drop Mibu Possession Balloon, and the normal ones 43XP.
Pick up 1x Fistful of Ash and 1x Pellet in the area before proceeding to the Moon-View tower.
Mini-Boss Seven Ashina Spears - Shikibu Toshikatsu Yamauchi
You can approach from around in stealth to discount 1 health bar from Seven Ashina Spears - Shikibu Toshikatsu Yamauchi. He attacks with two different perilous attacks, one is a thrust that can be countered with Mikiri Counter, and one is a slash that you can jump over. His other attacks hit really hard, so be on your best deflect game, and remember to use Ungo's Sugar to reduce damage taken. You will receive 465XP and 1x Prayer Bead.
Remnant: Kuro & Jizo Statue
Within the tower, a Remnant for Kuro can be seen. Interact with it, and you will hear him ponder about what it is that he must do, and why it is that he has this power.

From outside the tower, grapple onto the roof and go around the tower rooftop to find 1x Bundled Jizo Statue. There's also 1x Scrap Iron by a tree to the side of the tower.

Meet Jinzaemon Kumano
Go back to the area where you killed the alarm enemy and look around the corner to find the area where you first learned to wall hug and shimmy across the edge. Go towards the spot where you spawned the game and you will meet an NPC. This is Jinzaemon Kumano and he will be looking for a specific tune. He leaves if you engage the Swordsman.

Mini-Boss: Lone Shadow Longswordsman
Enter the cave you first spawned at and you will meet a character, called Lone Shadow Longswordsman. Talking to him makes him ask you about a wolf. Talk to him again and he'll come aggressively. Runaway to reset the fight, then approach it back from the hole right above him where the woman NPC dropped the letter from. You will thus remove one of his bars. Use Ungo's Sugar to boost your defense, and focus on deflecting and trying to get behind him by circling him right. Once he attacks you can hit him from the back. Be careful with his Perilous Attacks as this is a narrow area, but you can deflect them. Defeating him grants 215xp, Scrap Magnetite x2, Prayer Bead x1, 96x Sen.
Path to the Abandoned Dungeon
Continue past the defeated swordsman and you can now grapple and grab the item you saw when you started the game. This is 1x Scrap Iron.

Ahead as you go into Abandoned Dungeon, you will face 2x Gecko. Kill them and jump to the right to a ledge to obtain 1x Bulging Coin Purse, and walk ahead to commune with Bottomless Hole Sculptor's Idol.


You are now at Abandoned Dungeon (Bottomless Hole Idol)
Ashina Reservoir After Fountainhead Palace
After completing Fountainhead Palace, you'll go through Ashina Castle and Ashina Outskirts. Then teleport to the Ashina Reservoir idol to make your way to Kuro
Ashina Reservoir Idol
From here, pick up 2x Ministry Dousing Powder and 1x Fulminated Mercury. Moon-view Tower is locked off, so make your way toward the bridge. Under the bridge, you can get 3x Pellet and then unlock the Near Secret Passage Idol by the moat.
Boss Fight: Genichiro, Way of Tomoe
This is a two-part fight that can be very challenging. Make sure to make due preparations. See Genichiro, Way of Tomoe for details.
Boss Fight: Isshin, the Sword Saint
The final battle of the game, depending on your Endings choice. See Isshin, the Sword Saint page for details.
Video
Map
[map goes here]
Trivia & Notes:
Trivia and notes go here
 Anonymous
 Anonymous
Eh ingul a mammita what is the first object in the tutorial that you cannot take unless you have the grappling hook? porco dio

 Anonymous
 Anonymous
 Anonymous
So there's actually 2 map changes. One close to end game and one end game/post game. Normally there's two ways to access that area, using the abandoned dungeon bottomless hole idol and backtracking (going through the well you start the game with), or using the ashina reservoir idol once you find it again. But, in my post-end game I can't seem to access the area at all. The reservoir idol area has the gate on fire, and even if you try popping a ministry dowsing powder and climbing the wall anyway, there's just an invisible plane stopping you. If you try going the back way through the well, someone finally decided to put those grates to lock you in. Additionally, the tree stump on the side of ashina reservoir is also fully burned, so you can't grapple through to the area. Is there a reason for this area being so thoroughly locked out at end/post-end game?

 Anonymous
No idea how to get back here for the end game. The only idols I can warp to in Ashina Castle are Kuro's room (where the wooden window is closed and I can't interact with it) and the Abandoned Dungeon Entrance (and again the door back to Castle is closed, on fire, can't interact). All of Ashina Outskirts idols are also locked except Dilapidated Temple, but the grapple point from there to the Castle is gone. There's no way to the reservoir as far as I can tell, I have been searching the entire world up and down for nearly 2 hours.

 Anonymous
Alright: answering the question "how to get back in the end game" assuming you have Ashina Castle first idol which name is also "Ashina Castle" Teleport to idol: in front of you stairs but you go left where two dudes fighting. Past them into the room, jump down and get the "Ashina Reservoir" idol. Kill 7 spears (optional, but easy if you mind control the swordsman standing next to him. Which requires crawling counterclockwise and then sprinting towards the dude when they get suspicious). On the side of this arena there's a branch you can walk on. On that branch graple another branch above you. Walk straight, jump towards the wall, hang on it, climb up. Move forward and now you're under the bridge. Jump down (but not in the abyss -_-) and there you can see secret passage and idol.

 Anonymous
Can't grapple to the top of the tower with the Kuro remnant. WTF?

 Anonymous
 Anonymous
 Anonymous
Where can I find the key to open the door where you and Kuro escape in the beginning of the game, but in Ashina Reservoir Revisited???

 Anonymous
Once the cut scene end, turn back and go to the end of the water, there's an item up there. Can't figure out how to get it though, maybe need to wait till "Revisit"?


If you're looking for the gyoubu's broken horn and cant get in because the door is on fire, you can go to the dilapidated temple idol and go to the training dummy's box to buy it
6
+10
-1