Ashina Castle (葦名城, Ashina Shiro) is a Location in Sekiro: Shadows Die Twice. This page provides a full walkthrough with all items, npcs, bosses and secrets found in Ashina Castle, located just after Ashina Outskirts. This is a grandiose location with walled high towers, defended by fearless warriors that will take to the skies and propel themselves onto their targets as if birds of prey.

General Information
- Previous: Ashina Outskirts
- Next: Ashina Reservoir, Abandoned Dungeon, Senpou Temple, Mt. Kongo
- Bosses: Blazing Bull, General Kuranosuke Matsumoto, Ashina Elite Jinsuke Saze, Seven Ashina Spears - Shume Masaji Oniwa, Genichiro Ashina
Video Walkthrough
Map
[map goes here]
NPCs in the area
- Fujioka the Info Broker
- Blackhat Badger
- Old Woman
- Emma
- Kuro, the Divine Heir
- Isshin Ashina
- Tengu of Ashina
Bosses
- Blazing Bull
- Ashina Elite - Jinsuke Saze
- General Kuranosuke Matsumoto
- Genichiro Ashina
- Lone Shadow Vilehand
- Lone Shadow Masanaga the Spear-Bearer
- Seven Ashina Spears - Shume Masaji Oniwa
Items
Quick Items
- 7x Pellet
- 10x Eel Liver
- 2x Ako's Sugar
- 1x Divine Grass
- 2x Ungo's Sugar
- 7x Fistful of Ash
- 2x Gokan's Sugar
- 4x Spirit Emblem
- 7x Ceramic Shard
- 6x Gaachin's Sugar
- 4x Light Coin Purse
- 3x Heavy Coin Purse
- 1x Mibu Balloon of Spirit
- 1x Dragon's Blood Droplet
- 4x Mibu Possession Balloon
- 2x Mibu Balloon of Wealth
Equipment & Upgrades
- 7x Scrap Iron
- 2x Gourd Seed
- 4x Prayer Beads
- 4x Scrap Magnetite
- 4x Black Gunpowder
- 1x Iron Fortress (for Loaded Umbrella)
- 1x Bloodsmoke Ninjutsu (Ninjutsu Technique)
- 1x Sabimaru (Prosthetic Tool)
Keys
- 1x Isshin's Letter
- 1x Gatehouse Key
- 1x Memory: Genichiro
- 1x Ashina Esoteric Text
- 1x Nightjar Beacon Memo
- 1x Secret Passage Key
Enemies
- Dog
- Assassins
- Ashina Soldier (Spear)
- Fencer
- Nightjar Ninja
- Gecko
- Taro Troop (Bell)
- Ashina Soldier (Matchlock Rifle)
- Taro Troop (Wooden Mallet)
- Sunken Valley Clan (Cannon)
- Blue Spear Monk
- Interior Ministry Ninja
- Samurai General
- Red Guard (Dual Kodachi)
- Red Guard (Rifle and Katana)
- Red Guard Elite (Rifle and Dual Odachi)
- Red Guard Flamethrower
Full Ashina Castle Walkthrough
Ashina Castle is an impressive complex guarded by tall walls, fearless Fencer and the agile Nightjar Ninja. They protect the nobles within the palace, as well as guarding against the escape of the hostage: Kuro The Divine Heir.
Eavesdropping Opportunity
After grappling onto the roof of the first locked gate, look behind you to see two Assasins (straw hat stocky fellows). They will discuss the Land of Ashina might not survive long as Lord Isshin is sick and mention a separate mission by the Serpent Valley. Be mindful that these enemies have ranged attacks, a perilous grab, and can also inflict the Poison Status Abnormality. They will also grapple onto ledges and follow you around.
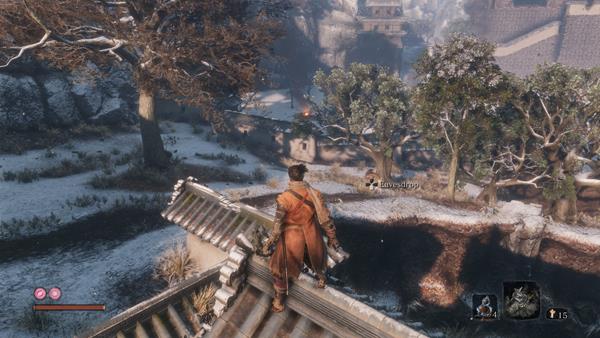
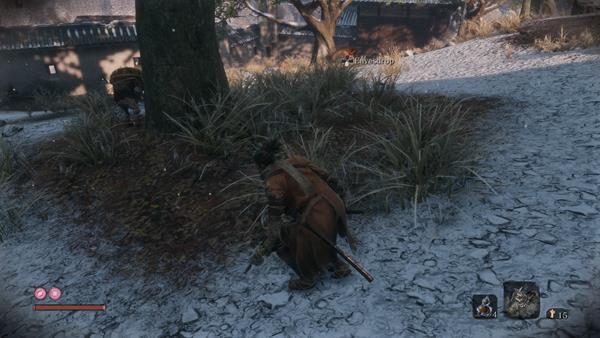
To engage them, it's best to go to the left side and stealth the one that is hiding behind a tree. The Loaded Axe is particularly useful against these enemies, wait until they are charging at you, and then use it to open them up to a Deathblow. These enemies can drop Black Gunpowder. Pick up 1x Pellet.
Go back to Tengu of Ashina
If you go back to talk to Tengu of Ashina he'll reward you with Ashina Esoteric Text, which unlocks the Ashina Arts tree. He mentions that they have no specific rules but winning and that it will assist you in further "rat hunting".
Now go to the Sculptor's Idol and unlock the first passive skills in Ashina Line if you have the skill points, as they are very useful.
Infiltrating the Castle
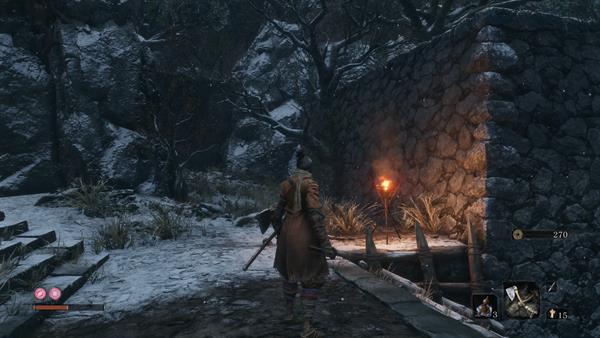
Return to the castle gates and go to where you fought the rats. A small staircase down leads to three dogs and a warrior. Defeat them and continue on. Two enemies and 1x Ceramic Shard await ahead. You can take a branch to the left of the ceramic shard to get around the enemies and stealth them if you wish. A third warrior comes out of the gate, deal with him then look the way you came from and slightly left, you'll want to jump and hold onto the yellowish ledge.
Get some Scrap Iron
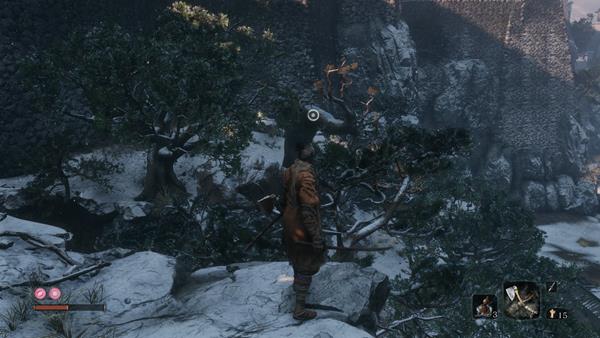
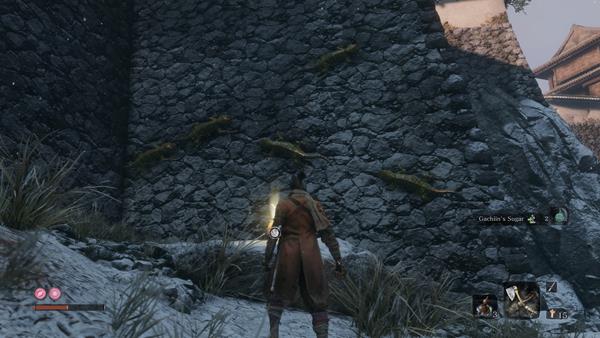
Go up this path and grapple onto the roof of the building, there's 1x Spirit Emblem behind you and a jump + grapple to a branch to obtain 2x Gachiin's Sugar and 1x Scrap Iron. But BE CAREFUL as Geckos hang above the items. Kill them with shurikens to be safe. Each lizard gives you 19XP.
Return to the main building before the Spirit Emblem and collect 1x Light Coin Purse.
Deathblows from Above
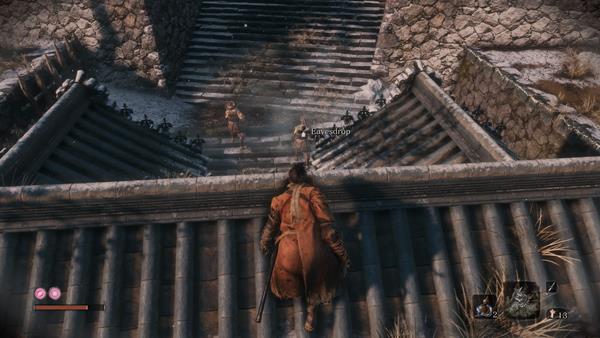
This building affords you a great view of the area below, and you will spot 2x Taro Troop (Wooden Mallet). You can jump down and eliminate one right away as you land. Move out of the way to force the adds to separate and come at you one by one, kill them and engage the Taro Troop (Wooden Mallet) last. Its hammer attacks are slow, but it has an AOE effect that you should be mindful of in the form of a barrage. Jumping away from the attacks seems to work well. Each one of these gives you +38XP.

Before you leave this area, climb onto the wall near the entrance tunnel and look down - there's 1x Ako's Sugar that you can pick up. Turn around and Grapple onto the protruding rooftop to go back up. You will then want to go to the furthest side of the empty area and go up a short staircase that leads to a cliff, there's 1x Scrap Iron in this corner, as well as 2x Fistful of Ash.
Eavesdropping Opportunity
Go toward the exit gate and grapple up, and an Eavesdropping opportunity will trigger. The guards discuss that there's something being used for a battle that does not discriminate between friend or foe. You will want to make sure to equip Shinobi Firecracker before going forward. Continue ahead and you'll be greeted to "Ashina Castle" naming. Three enemies await, but as soon as you make it past half point of the area a mini-boss appears.
Mini-Boss: Blazing Bull
You will encounter a mini-boss, and it is an enraged bull named Blazing Bull. The key to this fight is to get behind him and use the Shinobi Firecracker every so often for a brief stun effect. Chase after the boss and dodge its incoming charges and you should be able to defeat it in a few tries. This Mini-Boss rewards 1x Prayer Bead, the passive skill Shinobi Medicine Rank 2 and 215XP
Ashina Castle Idol
After the fight, you'll go through a gate and meet an old woman NPC. You cannot do much now but talk to her regardless. Ahead, commune with the Ashina Castle Sculptor's Idol, and use your Prayer Beads if you have four and have been following our guide, this will give you the Second Prayer Necklace item and thus enhance your attributes. This idol marks an important Divergence point as there are several ways to go: Ahead up Ashina Castle, or to your left toward Ashina Reservoir and the Abandoned Dungeon.
If you Jump across from the Bridge
Go back to where the praying woman is, and jump and grapple to make it across the moat. If you fall, you'll get 1x Spirit Emblem and can grapple back up from the other side. Once across, go left inside a building to pick up 1x Light Coin Purse.
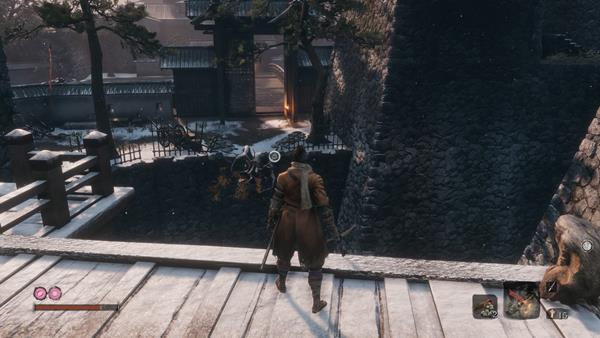
From the gate, take a moment to eavesdrop on the enemies, who will comment on putting armor on someone from "Taro's Troup". They say it is an unwieldy thing that might come off surprisingly easy. Defeat the enemies here to get 1x Gatehouse Key.
Ashina Reservoir
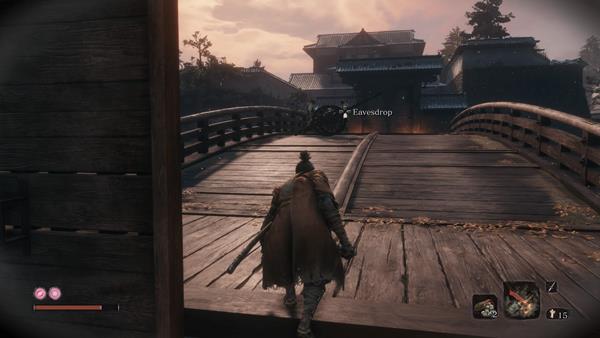
If you pay attention to this area, you will notice that it's the upper echelons of what you originally knew as "Ashina Reservoir" and you're standing on the bridge under which you first learned to wall jump and ledge grab.
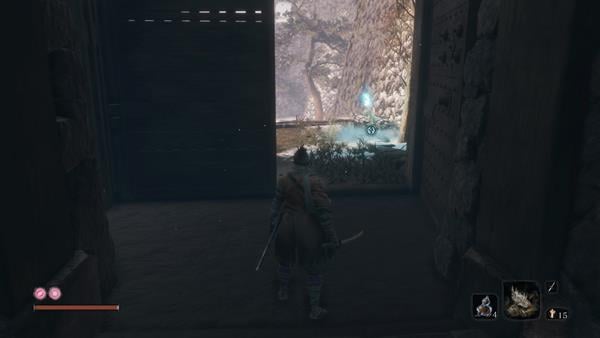
Going down will take you to Ashina Reservoir Revisited.
Across the Bridge:
You will fight a powerful Taro Troop (Bell) and 3 dogs, and obtain Scrap Magnetite and 186XP for defeating him. Pick up 1x Black Gunpowder behind him. 1x Heavy Coin Purse lies ahead, and to the left there's the Abandoned Dungeon Entrance Sculptor's Idol. Battlefield Memorial Mob is here too, with different items.

Going this way will take you to the Abandoned Dungeon.
Remnant: Kuro and Emma
Walk a few steps from the Idol and interact with a remnant to see a short memory of Kuro and Emma. Kuro says he will use the "Reed Whistle" from Ashina Reservoir times to call upon you, the Wolf, this time.
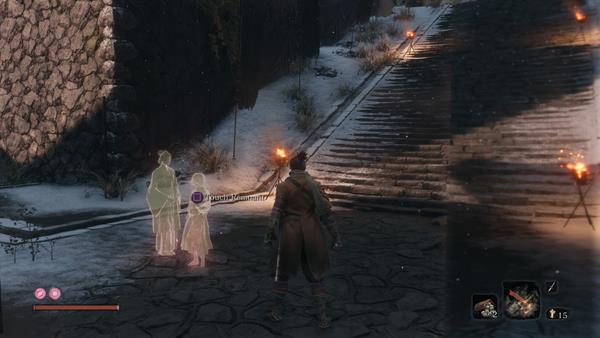
Way down to Ashina Reservoir Idol
Go left from the Remnant and jump over a wall too fall into some water. Grapple out and you'll find 1x Scrap Iron and 1x Mibu Possession Balloon. From here, you can open a nearby door to go into the structure nearby. Go inside and open another door and you'll emerge at the courtyard you were before jumping the wall (near the remnant). You can now drop down and pick up 1x Pellet and unlock the nearby door. This is the closed gate from the tutorial, right next to Ashina Reservoir Idol. Commune with it and continue to Ashina Reservoir Revisited if you want to unlock a new prosthetic.

Back to the Ashina Castle Idol
Return to Ashina Castle Idol and this time go to the right side. The rooftops in this area have special flying mobs. Up the stairs, you can find General Kuranosuke Matsumoto.
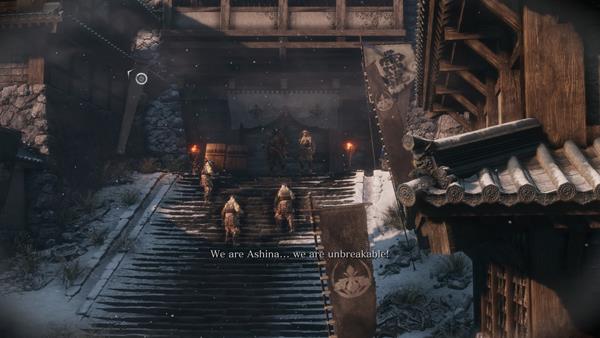
Grapple onto the rooftops and drop onto some of the Ashina Soldier (Matchlock Rifle) ads to eliminate them before the battle, or remove one posture bar from the boss. You will need to kill the adds before engaging the main boss or they will get you with the rifles the whole fight.
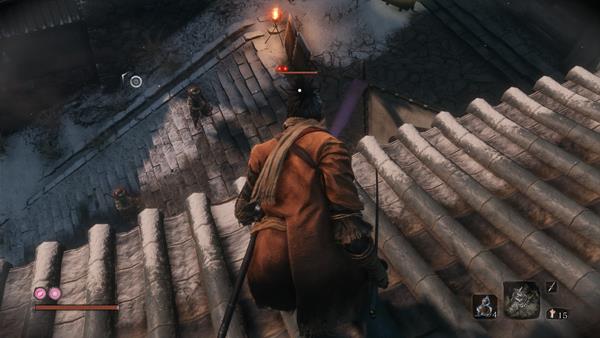
Defeating him will grant 1x Prayer Bead and 280XP, 89 Sen. The chest behind him contains 1x Divine Grass.
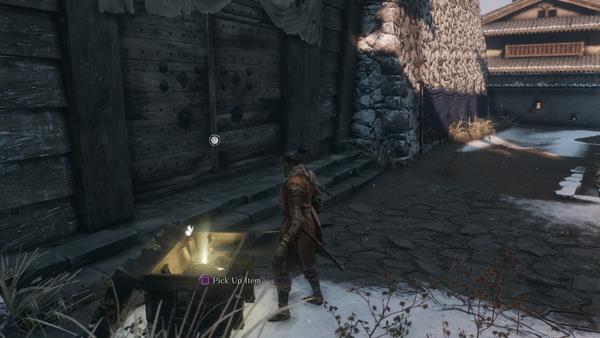
Around the corner, there's Mibu Balloon of Wealth x1 and a dropdown to NPC. This NPC is Fujioka the Info Broker. Talk to him and respond yes, and he will ask you to defeat the Samurai of Ashina in exchange for information.
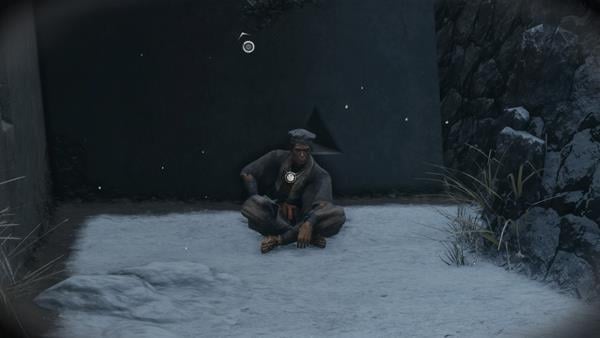
Unlock Fujioka as a Merchant
Go down and defeat the cluster of enemies in the courtyard, and you can loot 1x Ceramic Shard. The area below is populated by many enemies including the "Rats", rifle-armed warriors, and a new Nightjar Ninja-masked assassin type enemy that attacks with projectiles and at high speed. They yield 76XP.
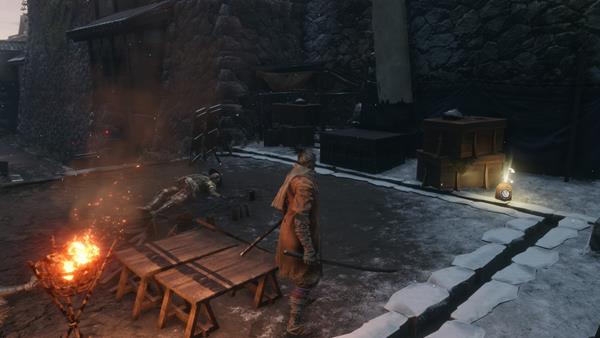
You will find 1x Scrap Iron by a tree overlooking the moat and bridge with the Ashina Castle Idol, and 3x Fistful of Ash on a courtyard right by the tunnel connecting to the Remnant of Kuro and Emma. Once you have cleared the area, return to Fujioka the Info Broker and he will reward you with 1x Nightjar Beacon Memo. He now becomes a Merchant at the Dilapidated Temple.
Taking to the Rooftops
You will notice Incense Smoke going up from some rooftops. Jump onto the first one you see ahead of where the previous items were, and then to the second roof beyond. From here you can access 2x Ceramic Shard.
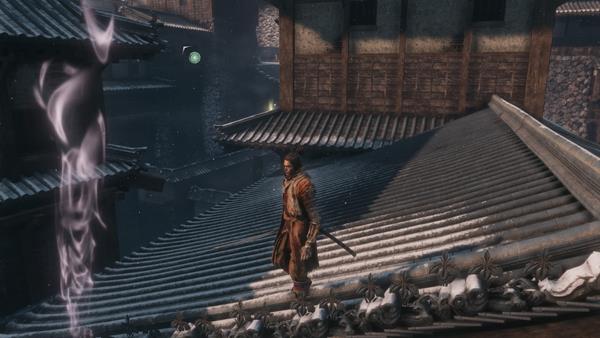
Make your way toward the bigger building with a purple banner, defeat the Nightjar Ninja here and spot the two across the way, that's your destination. Step a bit back from this tower and grapple onto its roof, there's 1x Pellet in a nest.
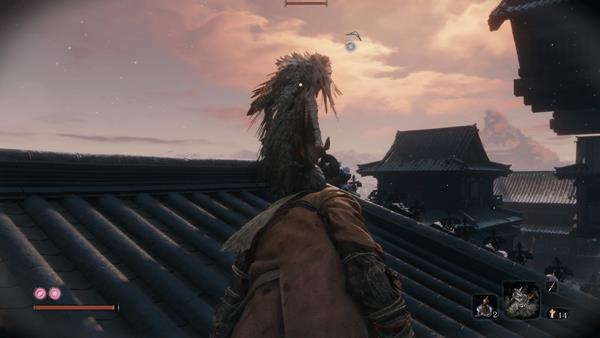
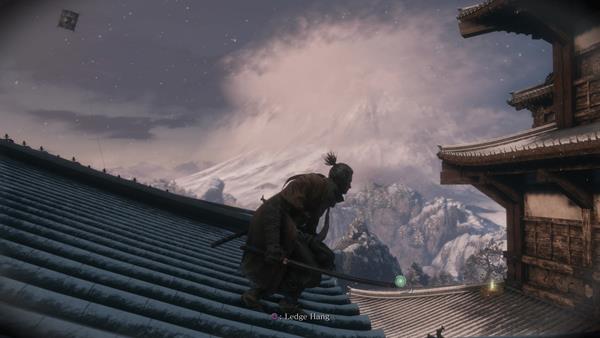
Grapple onto the opposite building and take on the two enemies here. If you are having trouble with them, you can attempt to dash past and hide, but there are a lot more ahead so it will require a lot of grappling. You can alternatively use items to boost your performance. The item ahead in one of the rooftops is 1x Ungo's Sugar, and you can stealth around these rooftops to defeat several more enemies.
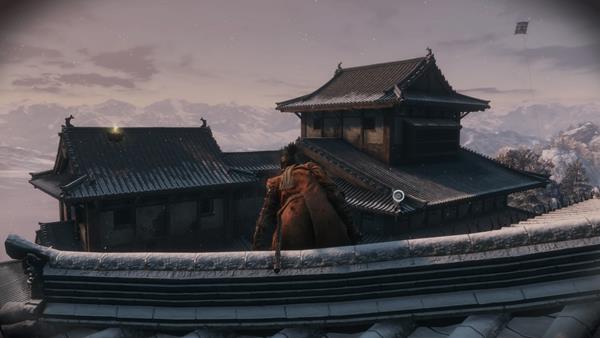
After thinning out the enemies, you'll notice a remaining item, this is 1x Ceramic Shard.
Upper Tower - Antechamber Idol
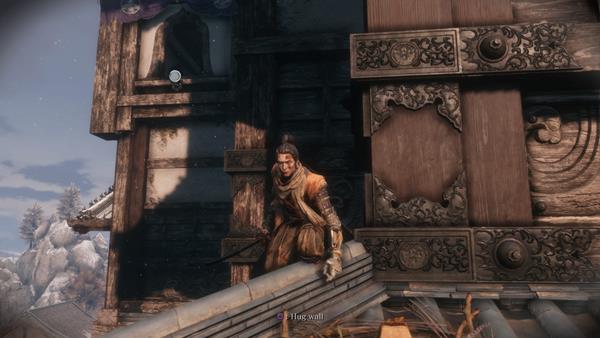
Instead of going around the corner, carefully creep about and you'll see a grapple point. An enemy is about to ambush you, so slowly edge forward to be able to grapple without activating the trap. Inside, the room, you will find 1x Fistful of Ash and a Treasure Chest with 1x Gourd Seed. Travel back to the Dilapidated Temple to upgrade your Gourd and return here to continue. (Remember you can now buy 1x Gourd Seed from Fujioka the Info Broker at the temple as well!)
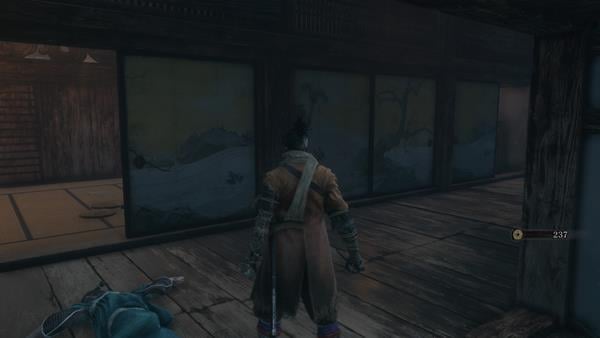
From here, you will face some challenging enemies. Go up the stairs and to the right so you can go around the dividers and ambush the Fencer. Open the nearby door and you will see a lot of them patrolling the area, as well as an old woman who will call for help if she spots you. Wait for their patterns to align, then approach inside and kill her first. once she's out of the way, retreat and wait to deal with the samurai, that gives you 78XP and has a chance to drop Pellet.
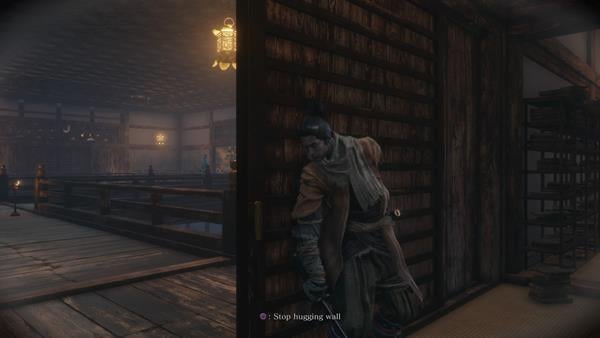
Dropping down the hole in this area allows you to open the main gate of the castle (leading to Ashina Castle Idol), and pick up prosthetic tool Sabimaru, as well as 2x Eel Liver, 1x Gokan's Sugar and the path to the Old Grave Idol. For the purpose of this walkthrough, we'll assume you didn't jump down. If you did, skip to "To Old Grave Idol" heading below.
Clearing up the Samurai
Follow the wall to the right of where you entered and you'll find 1x Pellet and a Fencer you can stealth-kill.
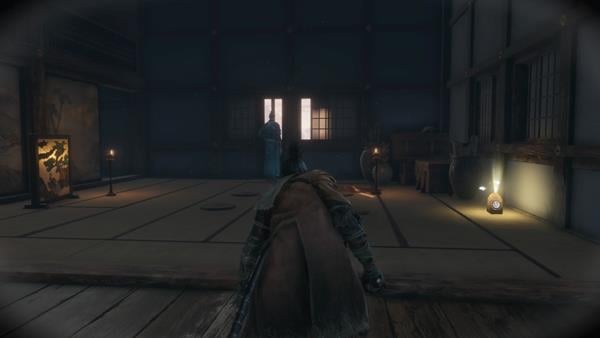
From here, you can see there are 3 Fencer in the adjacent room. Grapple onto the ceiling and go into the crawlspace to pick up 2x Gachiin's Sugar and get a good view of their positioning. You can use these grapples to get to a safe space if you are in a tight spot. In the room below you, there's 1x Scrap Iron and 1x Ako's Sugar.

Hidden Wall
Right where you got Ako's Sugar, hug the wall and use the hidden passage. You'll get 1x Light Coin Purse, 1x Heavy Coin Purse (behind a breakable screen) and a treasure chest with 1x Prayer Bead.
Clear the locked room
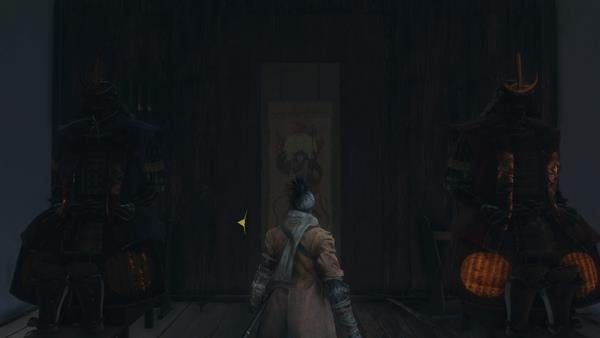
Go to the ceiling crawl space and make it to the other room, there are three enemies here, one woman and two Fencer. Stealth kill one of them and then open the door, you'll be immune to damage while you do it. Kite the other outside and use your Loaded Spear to deal damage from a safe distance, or dispatch as you prefer. When done, proceed forward and pick up 1x Mibu Balloon of Wealth from the staircase and 1x Gokan's Sugar from the top landing.
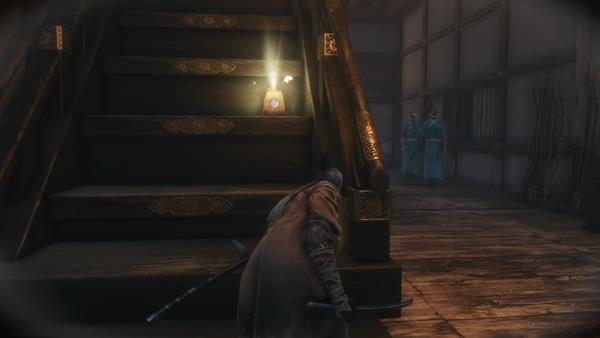
Remnant: Kuro and Emma
A remnant is available ahead, where Kuro and Emma talk about Ashina's plans of using Rejuvenating Waters. Those waters spring from the Dragon's Blood and make those who drink it unable to die.
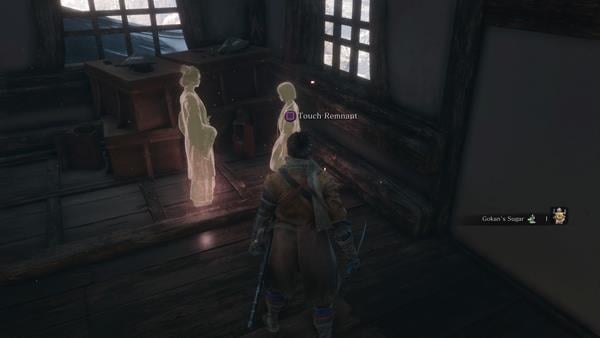
Upper Tower - Ashina Dojo Idol
Commune with the nearby Upper Tower - Ashina Dojo Idol and enhance your physical attributes if you can. You will get 1x Third Prayer Necklace. Go back downstairs and defeat the 2 Fencer here with stealth to then pick up 1x Ceramic Shard. Break the screen behind them to reveal a path
Fight the Nightjar Ninja
There are three feathered enemies ahead that can be quite challenging. aggro them and run back to the crawlspace to lure them out and separate them. They give 84XP. The room ahead contains 2x Eel Liver and 2x Pellet. Go upstairs from this room and you'll find 1x Isshin's Letter. A tower nearby has 1x Gachiin's Sugar.
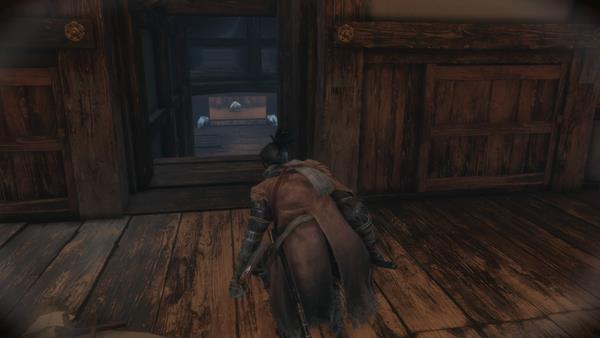
Mini-boss Ashina Elite - Jinsuke Saze
Go back to Ashina Dojo Idol, and open the door to reveal a room. Within it is Ashina Elite - Jinsuke Saze. The trick to defeating this master swordsman is to deflect his attacks, his posture will fill very fast and you will be able to defeat him very fast. He is also vulnerable to a stealth deathblow if you use Gachiin's Sugar and crouch walk along the right perimeter of the room as close to the wall as possible. Afterward, you're rewarded with 1x Prayer Bead and 314XP. In this room, you can pick up 1x Pellet, 1x Scrap Magnetite from here and 3x Eel Liver.
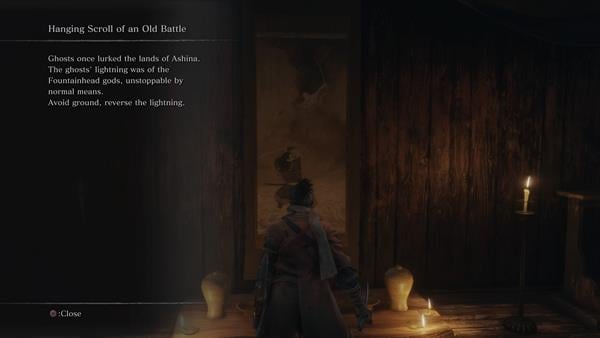
You can also interact with the nearby scroll for some lore.
Boss Fight: Genichiro Ashina
You will now get your rematch with Genichiro Ashina. See his page for details on how to defeat him. Upon beating him, you will be rewarded with 2000XP, Memory: Genichiro and unlock your first Ninjutsu: Bloodsmoke Ninjutsu.
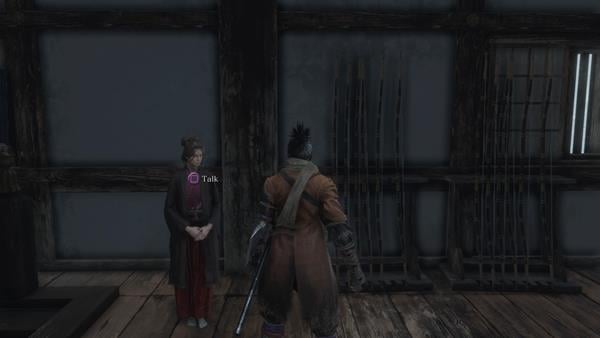
Talk to Emma
Commune with the nearby idol to unlock the Castle Tower Lookout travel destination, then talk to Emma. She will reveal that she works for Isshin Ashina, who has no desire to use the Divine Heir's blood and has thus tasked her with assisting Kuro's escape.
Talk to Kuro
Go down and commune with Upper Tower - Kuro's Room idol. This room contains 1x Scrap Magnetite, and if you go behind some dividers you get an Eavesdropping Opportunity where you can hear Kuro ask when Genichiro lost his way.
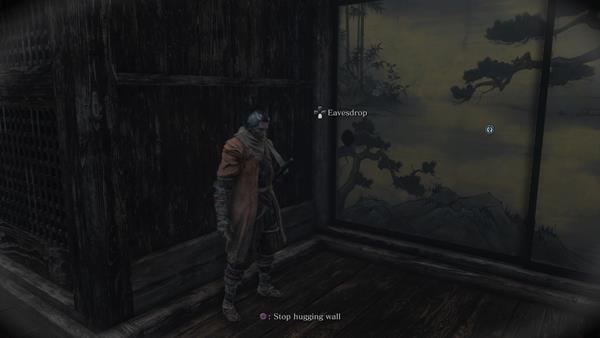
You can also find 1x Hidden Wall that leads to the Dilapidated Temple. This is probably how Emma comes and goes.
After this, approach your master. He reveals he wishes to sever the stagnation that is caused by the Dragon Heritage. The game gives you a choice: Help Kuro or Obey the Iron Code, Protect Kuro. If you select Help Kuro, Sekiro reponds with "I cannot break the Iron Code" so the only option you have is to Obey the Iron Code.
Kuro will ask you to join him in his quest to Sever Immortal ties. You will receive Immortal Severance Text. He asks you to look at the incense burner nearby. Apparently, it belonged to a previous Divine Heir, Lord Takeru. The scent of the fountainhead is the key to reaching the divine realm that Kuro wants to go to in order to obtain Dragon Tear.
Find Isshin Ashina
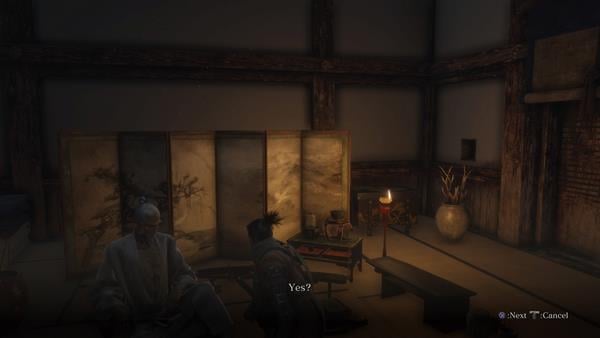
Lord Isshin Ashina is at the tower where you found Isshin's Letter. When you talk to him, he gives you 1x Unrefined Sake. Talk to him and ask him about the Immortal Severance and he will say you need Fushigiri, the Mortal Blade. Ask him where can the Mortal Blade be found and he will say it's in Senpou Temple, but can't be drawn.
Back to Kuro's Room
Go back to Kuro's Room and you'll find a letter from Kuro telling you to meet him in the library. You can talk to Emma and she will say that Genichiro took a Rejuvenating Sediment, which was originally researched by her master. You can now give her Gourd Seeds, and even give her a drink. Pick up 1x Gun Fort Shrine Key from the Library and then talk to Kuro
- Show the Sakura Droplet: It's something left behind by Lord Takeru. You can keep the droplet or give it to Kuro.
- Ask about the flower gets you 1x Fragrant Flower Note. It seems this takes you to the Sunken Valley. This is accessed via the Serpent Valley, that is just beyond Ashina Castle. You have to fall down.
- Ask about the stone refers to a hidden village. The access is near Moon-View tower in Ashina Reservoir - that would have been the Bottomless Hole idol in Abandoned Dungeon.
To Old Grave Idol

Go back to Upper Tower - Antechamber Idol and find this room patrolled by 1x old woman and 1x Fencer. Dropping down the hole in this area allows you to open the main gate of the castle (leading to Ashina Castle Idol), and pick up prosthetic tool Sabimaru, as well as 2x Eel Liver, 1x Gokan's Sugar and the path to the Old Grave Idol.
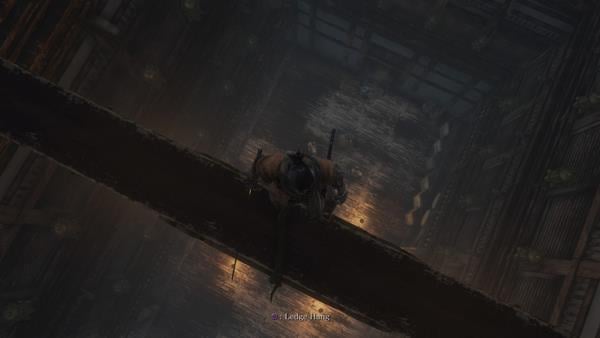
Unlock the nearby door leading to a pond. If you drop into it you'll find some aggressive fish in the lake, which you can kill easily. Then grapple to shore and there's a locked gate. Grapple onto a branch and jump on the ledge, then approach the monk enemies ahead cautiously. You will receive 1x Heavy Coin Purse.
Old Grave Idol
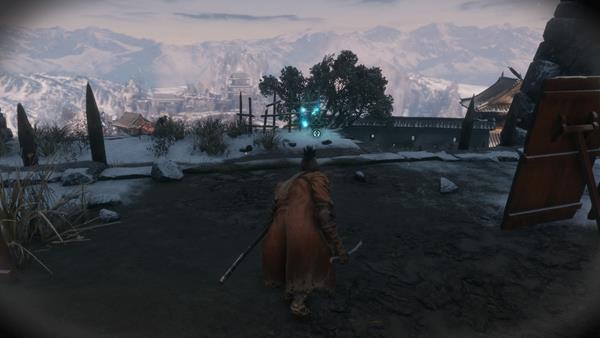
Ahead of these two Ashina Soldier (Matchlock Rifle), commune with the Old Grave Idol. and you will see 1x Gachiin's Sugar in a nest perched on a wall nearby.
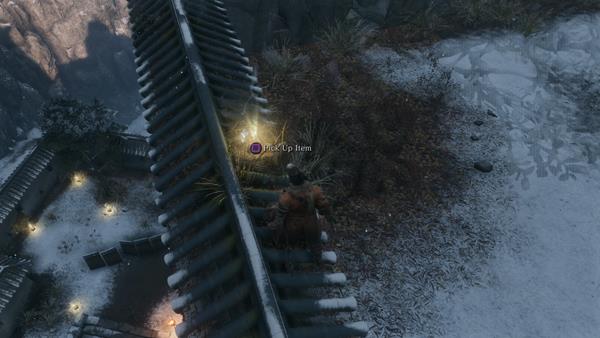
The buildings down to your left contain many treasures, but first, you need to deal with a Sunken Valley Clan (Cannon) on a building at the end of the staircase. As you approach the bottom, enemies will have a conversation about a miscreant nearby.
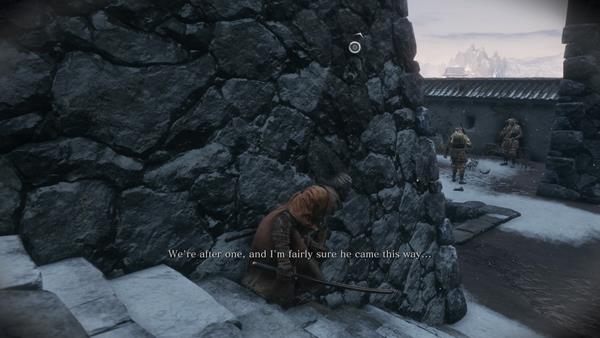
Grapple onto the rooftop ahead of them and position yourself to grapple to the Sunken Valley Clan (Cannon), and you can stealth deathblow him. Now drop down onto the other two guys, and prepare to kill a third spear user that will come by.
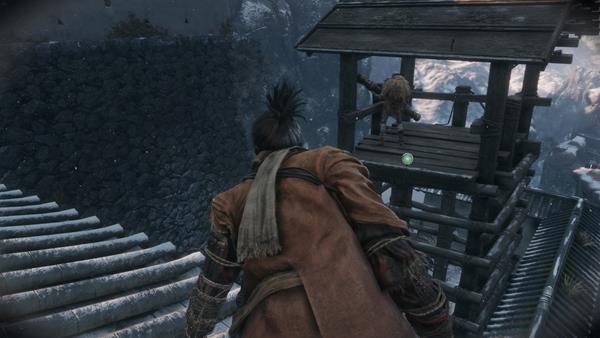
Another Cannon
As you prepare to go down the stairs, you'll note another cannon enemy and a "Assasins" in the building with the broken roof. Now drop down again behind the tower with the cannon enemy and land on a Ashina Soldier (Matchlock Rifle) that you can stealth kill. Defeat one more enemy by the watchtower, then go up and kill the cannon-bearer.
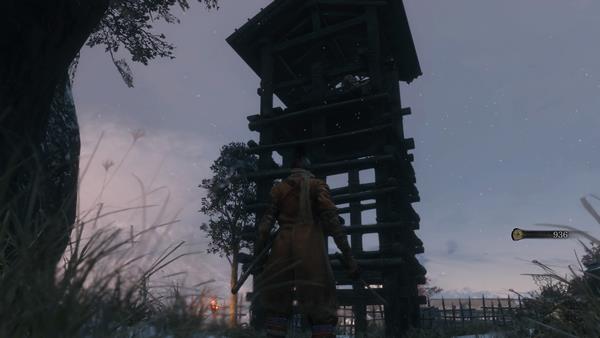
After you do, you will see the ambush that was waiting for you by the staircase. Dispatch the warrior and then grapple up to the broken roof building, and drop in to meet an NPC
Meet Blackhat Badger
Drop down from the hole in the broken rooftop, and talk to the NPC Blackhat Badger. He asks if you're one of the Nightjar Cronies, which you are not, and comments on how horrible his day is. He says he's strapped for cash and wants to sell you items. He sells the Iron Fortress Upgrade Material, that makes the Loaded Umbrella Prosthetic Tool.
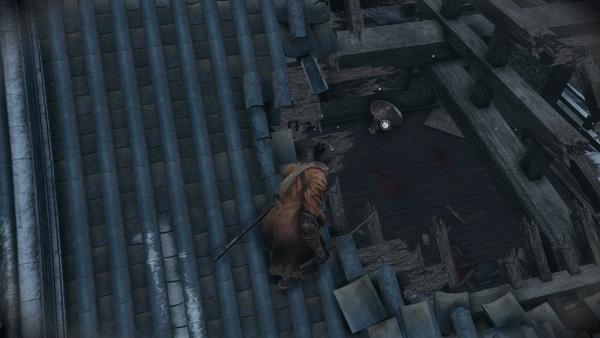
Outside this room, grab some 1x Ungo's Sugar and drop down to defeat the alarm enemy and finally loot all the treasure you saw earlier. The courtyard has 1x Ceramic Shard, 1x Fistful of Ash, 1x Light Coin Purse, 1x Gachiin's Sugar.
Spot Ashina Outskirts
Walk toward the wall and jump up and you'll see Ashina Outskirts, Underbridge Valley Idol across the broken bridge. Now go to the broken bridge to find 1x Black Gunpowder. This area is now cleared, so head back up to Old Grave Idol.
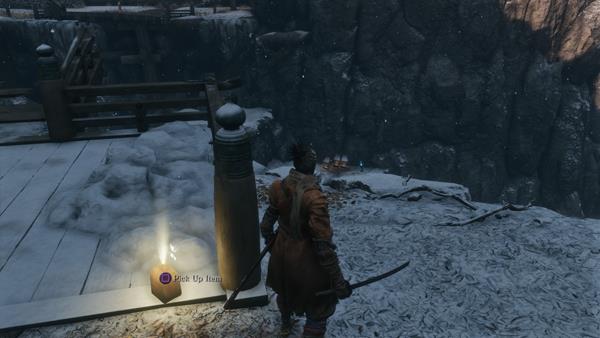
Dragon's Blood Droplet
To the left of the idol you will find a grave and 1x Dragon's Blood Droplet can be picked up.
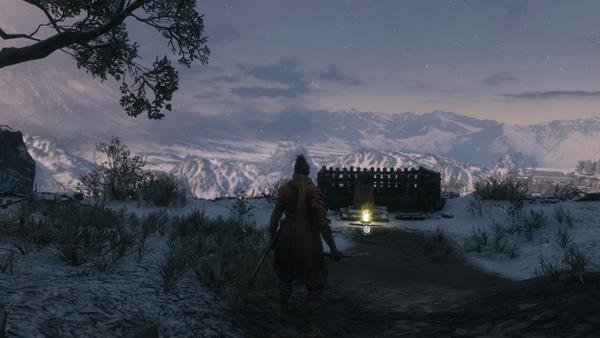
Eavesdropping for Anayama
Go back to where you killed the spear monk, and eavesdrop on the enemies on the bridge. They talk about how salt is scarce because it's used both for cooking and for ritual purification, and with all the dead there's not enough for all burials. Bring this information back to Anayama the Peddler at your convenience.
Great Serpent Shrine Idol
Go ahead and defeat them, and the nearby rifle user, and then pick up 1x Mibu Possession Balloon. There's also 1x Mibu Possession Balloon under the bridge. The gate beyond leads to a few Monkey enemies, but first jump and grab onto the side of the gate and walk across it and drop down toward the pond to find 2x Scrap Iron.
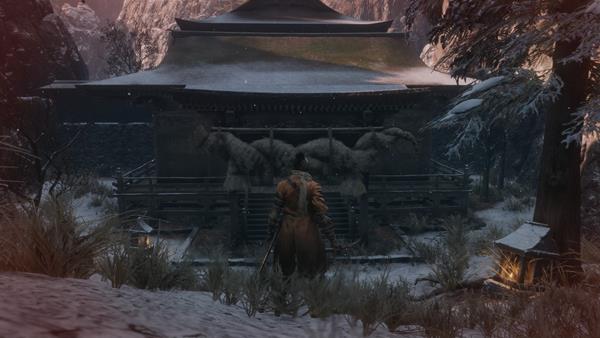
Back to the Monkeys, they are fast but can be taken down with Shuriken. Each Monkey will give you 19XP. You can replenish emblems as there are 2x Spirit Emblem in the area. Go forward and enter the temple ahead to gain 1x Mibu Balloon of Spirit and commune with the Great Serpent Shrine Idol.
Talk to Tengu of Ashina
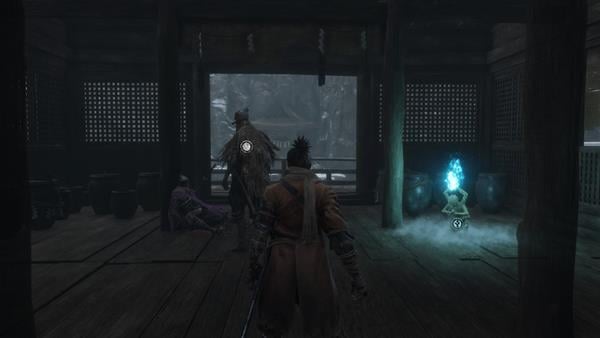
Tengu of Ashina has now moved here, and he asks if you have mastered any techniques. Jump across the cliff and grapple, then grapple up again to obtain 3x Eel Liver. This takes you to Sunken Valley.
Go to Senpou Temple
You should now go to Senpou Temple, Mt. Kongo, and finish that area before returning here.
Ashina Castle Revisited
After obtaining all materials from the Sunken Valley Passage and Mibu Village, players will find all Sculptor's Idols at Ashina Castle greyed out. Travel to Abandoned Dungeon Entrance and you'll get an eavesdropping opportunity as you return to the castle. The same Taro Troop (Wooden Mallet) Mob & Dogs from previously are outside again, but mostly facing in the other direction, so it is possible to stealth past them on the left & grapple up the gate without them aggroing.
Further ahead, as you cross the bridge a new type of enemy with Dual Wielding Samurai will approach from behind the gate at the other end & attack the regular enemy in the middle, and after disposing of them turn on you. Defeat it and move forward and an NPC will tell you there's invaders. Pick up 2x Pellet. If you would prefer to stealth kill the Samurai, you can jump down to the side of the bridge & grapple to work your way through the Rats now delving here, towards the Ashina Reservoir idol. Then enter the building behind it & grapple up to the next level, and exit right to find another Red Hat finishing their regular victim. If you opt to remain unsighted & wait inside the exit until they return to their position, you can stealth behind the arrow screens & then behind them to deathblow (you can reach him and stealth kill before he returns to his position). Continue on & light the Ashina Castle idol.
Drop to the Moat
The castle gate bridge has been withdrawn, so drop down to the moat and gather 1x Spirit Emblem on the way down. If you grapple up to the bamboo plank & then to the tree at the top of the wall, you will be behind the first Red Hat & can stealth kill them. Back down in the moat, explore underwater to grab 1x Treasure Carp Scale then swim around the underwater passage to the other side of the gate, picking up 1x Yashariku's Sugar and killing 1 Treasure Carp in the way.
Into the Inner Wall
From here, grapple up and you'll spot a bamboo plank to overcome the wall. You'll fight purple-clad ninjas, that yield 686XP and 70+ Sen. Their attacks can do a lot of damage to make sure to upgrade your posture and vitality with the prayer beads you have gathered. An easy way to kill the first one that's staring right at you is to target him as far away as possible, use the Whistle Prosthetic (preferably the delayed Mountain Echo), back up and hide around the corner of the roof until he resets and stealth him as he walks back. Be fast hiding, he runs to where you were very quickly. The main staircase below has 2x Oil. If you go to the previously incense-marked rooftops on the right, you'll find dead Nightjar Ninja and 1x Pellet, and new red-hatted poison-spewing "Rats" clinging & waiting to be triggered by your approach to the opposite side of the roof (you can work your way around and stealth kill every single one if you go up the bamboo plank and go towards the first rat on the highest roof instead of the first purple swordsman who's staring right at you). A courtyard on the ground floor has 3x Black Gunpowder and 2x Oil. The rooftop with the purple banner has 1x Scrap Magnetite. Each of the Red Rats gives 392XP and 52 Sen.
The Main Door
If you opened this door, beware that there are 3 dual-wield Samurai here. You can draw them out, get on the roofs, and get jumping stealth kills on them. Honestly one on one they're not that hard. Spam L1 to block and you'll break their posture pretty quick. Going up the bamboo plank has 1 Purple Swordsman to the left instead (until you go around the corner). Use the rooftops to your advantage to separate and stealth-kill the Purple Swordsmen, and the Nightjar Ninja after them. You can see at least 3 more just looking around the corner after the first one. Also, there's a dog right there. Inside the main door below, there is 1x Adamantite Scrap and 5x Oil. Beyond the gate there's a mini-boss but you cannot access it yet, so head up toward the Upper Tower - Antechamber Idol.
Isshin's Room
If you approach Isshin's Room, you can eavesdrop on a conversation between him and Emma. He will say Genichiro has the other Mortal Blade, and he can only use them so many more times. By them, there is 1x Pellet and a Treasure Chest containing 1x Black Scroll. The scroll reveals that the blade's name is "Open Gate" and might open a gate to the underworld.
Into the Castle
If you get back to Upper Tower - Antechamber Idol, you can defeat 1 Blue-Robed Samurai and Stealth-kill 1 Purple Swordsman. This is a great farming spot as you can get almost 800XP in 30 seconds and reset at the idol. Farm some Skill Points if you need, then move on.
Mini-Boss: Chained Ogre
The Chained Ogre is Back! It's best to do this fight from above so you get one free blow. Inside the room there's 1x Adamantite Scrap. He gives you 1369XP and 1x Prayer Bead, as well as Shinobi Medicine Rank 3. Open the door for a shortcut back to the Main Entrance & Ashina Castle idol at the bottom of the long stairwell- mind the double-wielding Red Hats waiting in the chamber below to be triggered if you rested at an idol, but if you dash out of sight immediately after opening the door they should not aggro. Then head out the open door on the other side to exit the castle & defeat the same enemies you faced in past visits to reach the Old Grave Idol- there is an eavesdrop opportunity on the Shinobi Hunter on the way. On the path down from the idol to the house that you first met Blackhat Badger, Nightjar Ninja & Red Rats on the walls & gates now join the Cannon & regular enemies guarding the approach- but there are no additional items to be found here.Back Moat
You can now explore the moat leading to the Serpent Shrine Idol. There's a Headless enemy here that you can fight under water- you can find him here after learning the Mibu Breathing Technique, but before collecting all the materials for Kuro. Using the prosthetic, it is possible to kite around him & his tracking ranged attacks & dash in to collect the loot he guards with minimal damage, but you may want to dispatch the man-eating red-eyed carp in the surface of the moat first. Cross the bridge for 1x Mibu Possession Balloon & Yashariku's Sugar at the gate, while the Interior Ministry Ninja & regulars are locked in combat & too distracted to engage you. The monkeys have departed, but Shinobi Dogs now patrol the Serpent Shrine at the end of the path, with Lone Shadow Masanaga mini-boss guarding a Dragon's Blood Droplet on a body nearby. He can be eavesdropped & stealth backstabbed for the first deathblow.
The Owl
If you make it to the top of the castle, a cutscene will play, showing The Owl asking Kuro to come with him, for his own protection. Kuro declines and asks him to leave.
THIS IS THE TRIGGER POINT FOR ENDINGS.
Make sure you read the Endings page to understand what steps lie ahead. After your initial decision, you can still work on obtaining the materials needed for endings, but only until you unlock the next area so please read the Endings page! You can also create a save file if you want to explore different options without having to do the game in NG+, but keep in mind you will likely miss out on trophies if you do this
You will be going to Sunken Valley next.
There's a mini-boss underneath this room: Lone Shadow Vilehand
Ashina Castle After Fountainhead Palace
Explore Before Leaving
You will be directed to follow the incense smoke to Ashina Reservoir to the passageway by the moat. Exit through the window in Kuro's Room and you can find some new items around the palace, as well as new enemies. Several black feathered Nightjar Ninjas are fighting red-eyed Nightjar Ninjas on the roofs. Notably, if you travel to the Antechamber Idol, the nearby purple swordsman can give 1000XP and Ministry Dousing Powder. You can pick up 1x Adamantite Scrap in the room with the Hidden Wall near the idol, then 3x Pellet in the room leading to the staircase to Ashina Dojo Idol. The area under Isshin's Room now has Mini-boss: Ashina Elite Ujinari Mizuo and 2x Yashariku's Sugar. Defeating Mizuo gives you 1x Prayer Bead and 3890XP.
Back from Antechamber Idol, drop down to the courtyard to pick 1x Antidote Powder, and then go to the main door of the castle (above the stairway from Ashina Castle Idol) to get 1x Adamantite Scrap. On the left and right areas from the staircase you will encounter more Red Guard and Ashina fighting. Of note, many Ashina soldiers will be sitting on the ground and are not hostile to you. Several Taro troops will also be milling about crying but will not attack you. You can also find 1x Ako's Sugar by the area were you cleared up samurai for Fujioka the Info Broker. On the main staircase outside the castle will be a group of Fencers fighting against Red Guard; you will first meet the Red Guard Flamethrower here. There will also be 1x Ministry Dousing Powder and 1x Fulminated Mercury.
Exploring the area to the right of the main stairs outside the castle (facing away from castle) will allow you to re-discover the Ashina Reservoir sculpture idol. There is an eavesdrop opportunity here between Seven Ashina Spears - Shume Masaji Oniwa and a samurai. It is advised to use the Finger Whistle to draw out the single samurai for a backstab so you can take on Seven Ashina Spears - Shume Masaji Oniwa on alone. Defeating him will net you a Prayer Bead and a Fulminated Mercury on the ground.
Progressing from the Ashina Reservoir sculpture idol, you can go below the bridge and (diagonally across from where you came) access a new idol called Near Secret Passage. Using the Secret Passage Key will open the door and allow you to access the final boss fight. But there's still more loot and optional bosses so don't go just yet.
By the Bridge under Old Grave Idol, you'll find Blackhat Badger, who is mortally wounded. Talk to him and he will die, and you can loot 1x Mibu Pilgrimage Balloon. The area by the pond has 1x Fistful of Ash and you can eavesdrop on the monk on the bridge and pick up 1x Ceramic Shard. The gate to Serpent's Shrine has 1x Yashariku's Sugar, and you can find 1x Dragon's Blood Droplet by the Serpent Shrine Idol.
The Gate
Once you get to Ashina Castle Gate, a dying Samurai will ask you to reinforce Ashina Outskirts and if you reply yes he will tell you about a nearby Kite that you can use to get there. Before proceeding forward, explore the courtyard by the way to Ashina Reservoir and you can get 3x Gokan's Sugar. The Kite will be toward the purple-banner building that you used to initially get on the rooftops, to the right of the staircase. Dangerous red-eyed Nightjar Ninja will attack you so be careful. Grapple onto the Kite and you'll drop near Old Grave Idol and can make your way to Outskirts.
You can now go to Ashina Outskirts and then Ashina Reservoir to complete the game.
Video
Map
[map goes here]
Trivia & Notes:
Trivia and notes go here
 Anonymous
Seeing the taro troops crying was genuinely the only thing so far that brought a tear to my eye.
the poor guys don't deserve to be in all this warfare and murder...
 Anonymous
Yeah so the Old Grave location in the walk through is straight up wrong and should be removed.

 Anonymous
I managed to get a free 50% Vilehand by killing his other ninja and quitting the game hard way. When I reloaded the added ninja was dead and I was outside his room, able to take 50% of his hp for free

 Anonymous
Instead of killing the guard in the corner of the Lone Shadow Vilehand, try backstabbing followed by puppet ninjutsu. He will help you kill the mini boss before falling dead but it should at least get one of his orbs down.

 Anonymous
going back to ashina castle for the endgame and finding out the whole inside was glitched, can't have sh*t in ashina

 Anonymous
The old woman on the bridge will give you items if you “pray” with her 3 times; you can use Mibu balloons or the Bell Demon spirit item next to her to look like you’re “praying,” after which she’ll give you items. There may be other ways of interacting but I have yet to find any, just putting it out there since the guide didn’t.

 Anonymous
parry practice with long arm centipede will surely pay off against this boss

 Anonymous
This walkthrough is so badly written its harder than the actual game. I need a walkthrough for this walkthrough. Every single page there is at least one thing that I have to spend 10 minutes trying to figure out.
"spot a rampart to overcome the wall" A rampart is a wall...
"NPC will tell you the Nightjar Ninja are attacking. Pick up 2x Pellet. If you would prefer to stealth kill him, you can jump down to the side" kill who? The NPC? The Nightjar Ninja? Is there only 1 of them?
Earlier it was "go back to the NPC drinking water", nowhere on this walkthrough is there any mention of any NPC drinking water....
 Anonymous
Jinsuke Saze is vulnerable to a stealth deathblow. Use Gachiin's Sugar and crouch walk around the right perimeter of the room as close to the wall as possible. If you are not right against the wall, he may detect you. You should be able to circle the whole room undetected and execute a backstab.

 Anonymous
The eavesdropping opportunity states that you hear Emma speaking is incorrent. It's actually Kuro.

 Anonymous
Right, so I am not sure if you guys are reading the same thing I am but at the - Upper Tower / Ashina Dojo Idol part of the walkthrough, it’s said that you can build your Third Prayer Necklace but to be honest I’ve been following it exactly and I only have 3 Prayer Bead so far. The 4th Prayer Bead is not mentioned. I believe that’s a slight mistake. I am not sure of anyone else pointed this out since I did not read all the previous comments

 Anonymous
I suggest getting the loaded umbrella upgrade from the Blackhat Badger before attempting to fight Genichiro Ashina. When he shoots arrow at you and stuff, throw up your umbrella and deflect them without damaging your posture.

 Anonymous
You can stunlock Jinsuke Saze with Ijimonji: Double. Do a running attack first, then spam the two Ijimonji - attacks -> easy first healthbar. You'll have to create an opening for the second hb, so be prepared to deflect or dodge until you can repeat.

For Jinsuke Saze just circle clockwise, dodge forward-left (his right side) right before he is about to strike (the sword starts shining) and counter attack with one hit. Then immediately dodge back once or twice (sometimes he may counter as well).

 Anonymous
 Anonymous
In endgame go to the reservoir idol there is a eavesdrop and mini boss that I don't see in walkthrough pages only mentioned in the progress route page it's Seven Spears from the moonview tower again

 Anonymous
 Anonymous
No underwater guide or just in 'return' and 'endgame' sections?

 Anonymous
 Anonymous
For Jinsuke Saze a cheese technique is to rush him and poison him with Sabimaru and let the poison take down about half of his health. Then run around him and bait him into doing is two strike combo. If he misses you are presented with a perfect opportunity to hit him with Sabimaru again and wait until his his health bar is down so you can do a death blow. It's a rinse and repeat strategy but works way easier than the video uploaded above.

 Anonymous
Fkin take my time. if you found that Isshin is not in his tower, then it does mean that - you havent completed Tengu quest - just exhaust kuro dialogue until kuro said that Isshin is recuperating in the tower with 3 ninja guard. easy way to find him is from kuro room go outside, and look at the tower in the right. there you go

 Anonymous
If you attack the scroll after reading it in Ashina Elite Jinsukes room, you'll get a unique ability

Back Moat - item on body after defeating long swordsman is dragon's blood droplet.

 Anonymous
This place is great. It one of From's most dynamic areas. It basically has 3 different forms at different parts of the game while at the same time acting like a hub that branches out to different areas. It really makes the game feel like it evolves and that time is actually moving as you progress.

 Anonymous
For the second fight with the Chained Ogre, I found a way to cheese him a lot mostly by pure chance : Starts at Ashina Castle - Antichamber, stealth kill the Samurai and the Purple dude, then drop down. Aggro the Ogre, Open the door leading to the exterior (you're invincible while doing so) rush out all the way to the Ashina castle idol before the opened bridge. Without using it to reset the fight of course, then rush back to the chained Ogre. He should have lost the aggro so that's already one kill done. But why rushing out all the way to the idol ? Because you aggro 3 Red Hat shinobi on the way, and THEY ARE HOSTILE TO THE Ogre. So you can just relax and watch the Ogre smash all three while losing a majority of his HP this way. You just have to finish the job with the Flamethrower prosthetic. GG EZ.

 Anonymous
 Anonymous
 Anonymous
Isshin will not spawn in his room if player does not talk to Tengu first

 Anonymous
When you return to the castle and get to the Old Grave idol, going all the way down to where the bridge is broken, you'll see a all black nightjar and a red hat "rat" comes to fight. When you kill the rat he says "How did you..." Just like to point this out

 Anonymous
Having trouble with Ashina Elite - Junsuze Saze mini boss. Even if I hold block for his 2 attacks, it takes most of my life. My Vitality is 12 while attack is 3. If I try to dash beside him, he hits me with the 2 attacks anyway. Wtf. The video makes it look so easy.

 Anonymous
Nightjars that jump on you and one shot you is a *****ing joke...

 Anonymous
Kuro does not need an item the first time when he ask the Wolf to help him. You are forced to choose "Protect Kuro", after which Kuro convinces you to help him anyways. This will set you on the path to the rest of the game, you later make the "real" choice. Don't worry about telling Kuro 'no' the first time.

If you're having trouble with the very fast nightjar enemies on the rooftops (I know I did): just like the smaller nightjar, the loaded axe (preferably used with chasing blade) destroys them in one hit plus a deathblow.

 Anonymous
 Anonymous
just noticed some miniboss is hiding underwater near the castle. not sure how to get to it though


Now how in the actual hell does that shinobi door lead to the dilapidated temple??
9
+11
-1