Senpou Temple, Mt. Kongo (金剛山・仙峯寺, Mt. Kongo - Senpou Temple) is a Location in Sekiro: Shadows Die Twice. The Senpou Temple of Mount Kongo is no longer the holy grounds it used to be. The monks have been corrupted by their desire for immortality, and the Buddha grieves.

General Information
- Previous: Abandoned Dungeon
- Next: Sunken Valley Passage, Sunken Valley
- Bosses: Armored Warrior, Long Arm Centipede Sen-Un, Folding Screen Monkeys
Video Walkthrough
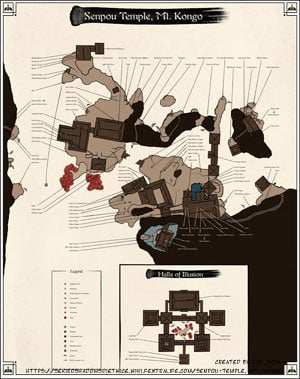
Map
NPCs in the area
- Kotaro
- Old Woman
- Shugendo Memorial Mob
- Head Monk NPC
- Divine Child of Rejuvenation
- Illusory Hall Monk
Bosses
Items
Consumables
- 6x Pellet
- 2x Persimmon
- 3x Ako's Sugar
- 4x Ungo's Sugar
- 4x Fistful of Ash
- 4x Gokan's Sugar
- 8x Ceramic Shard
- 19x Spirit Emblem
- 4x Gachiin's Sugar
- 1x Pacifying Agent
- 4x Antidote Powder
- 4x Light Coin Purse
- 5x Heavy Coin Purse
- 1x Bulging Coin Purse
- 9x Mibu Balloon of Spirit
- 1x Dragon's Blood Droplet
- 2x Mibu Possession Balloon
Equipment
- 2x Scrap Iron
- 1x Gourd Seed
- 2x Prayer Beads
- 1x Scrap Magnetite
- 3x Lump of Fat Wax
- 1x Yellow Gunpowder
Keys & Other
- 2x Treasure Carp Scale
- 1x Senpou Esoteric Text
- 1x Holy Chapter: Infested
- 1x Red and White Pinwheel
- 1x White Pinwheel
- 1x Monkey Booze
Enemies
- Dog
- "Rats"
- Archer
- Cricket
- Monkey
- Centipede
- Seeker (Bo Staff)
- Gecko
- Spear Adept
- Seeker (Psychic)
- Torch-wielding Warrior
- Hammer Monk
- Seeker (Fists)
- Infested Seeker
- Infested Seeker (Parasite)
Lore
Senpou Temple, Mt. Kongo: here
Full Senpou Temple, Mt. Kongo Walkthrough
Senpou Temple, Mt. Kongo is accessed via the Abandoned Dungeon, by taking a lift after swimming past the Underground Waterway Idol. As you arrive, commune with the Senpou Temple Idol to unlock the location for respawns and travel.
Speak to the Buddha Banner
A voice will call to you to look upon the enlightened face. When you interact with it, you'll learn that the monks of the temple have abandoned their duties in pursuit of immortality, and the area has become perilous.
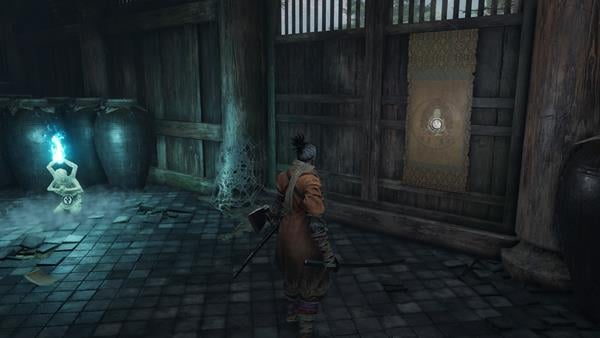
Meet Kotaro
As you exit the idol's housing, turn left and go around the corner to find 1x Gachiin's Sugar. Now go the opposite way (right from the exit) and you'll spot another item. This is 1x Scrap Iron. There will be an NPC ahead of you, this is Kotaro, who has been left behind. You can ask him why he is crying, he knows he was left behind but does not remember by who. He tells you that he must find a pure white flower. You need to find the White Pinwheel item and come back to him. See the Kotaro page for details on possible outcomes of this quest.
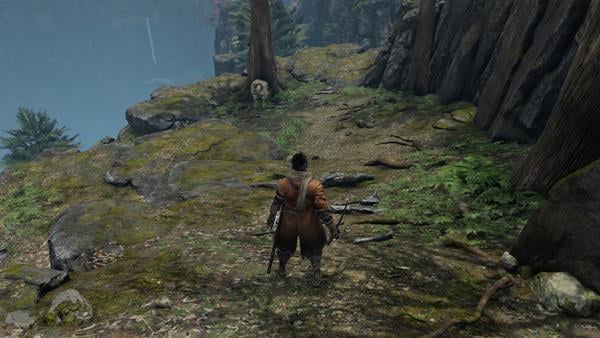
Broken Bridge
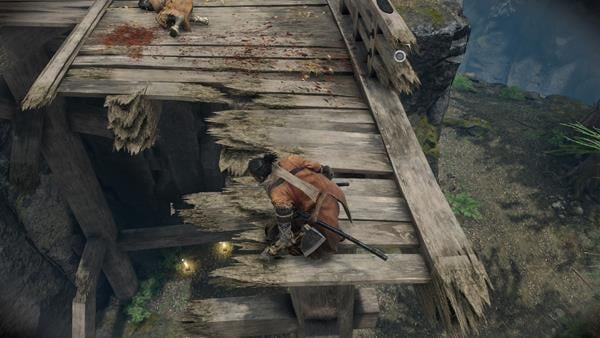
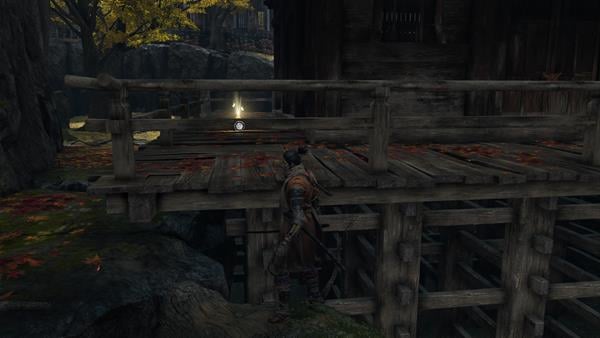
Down from Kotaro, a monk is praying by a broken bridge. Kill him to earn 87XP and 35 Sen, these monk enemies have a chance to drop Ako's Sugar. From this location, you'll be able to see some items in the lower area. Also on that level, you will see a Senpou Assassin to take on. He gives you 93XP and you can get the nearby 2x Spirit Emblem. The items under the bridge are 1x Gachiin's Sugar and 1x Mibu Balloon of Spirit.
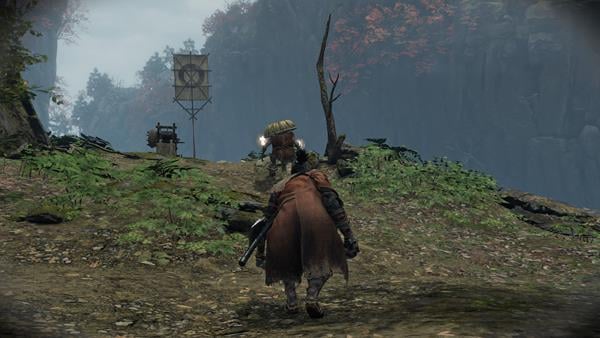
There's a Kite here that you can fly, but you cannot use it yet. Once you finish the level:
Kite Puzzle
You will need to finish off the boss of this level then talk to the Old Woman, the Blackhat Badger, and come back here if you want all to progress. You CANNOT finish this until you have completed Sunken Valley but if you want you can progress Blackhat Badger quest.
Equip Puppeteer Ninjutsu, then approach the Senpou Assassin in stealth and quickly press R1 to make it into your puppet. The enemy will raise the kite for you.
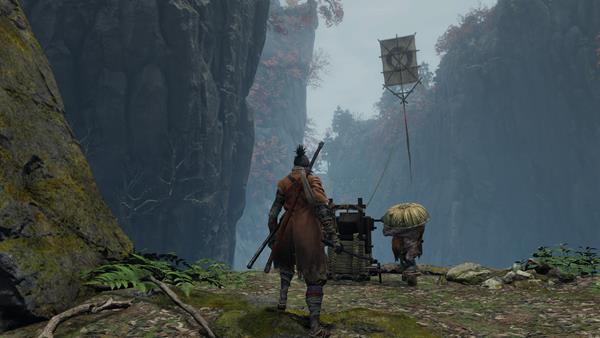
Talk to Blackhat Badger then go back to the large tree near the Old Woman and you'll be able to grapple to the kite.
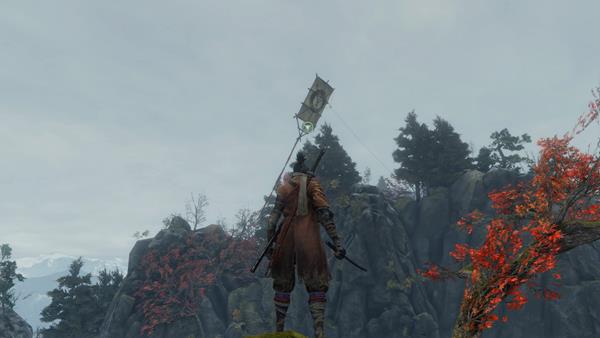
Going across you'll find 2x Snap Seed and then be on your way toward Sunken Valley Passage
Pick up 1x Scrap Magnetite, then talk to Blackhat Badger. Commune with the Sunken Valley Cavern idol and then you can pick 3x Mibu Balloon of Spirit. From here, teleport to Ashina Castle, Great Serpent Shrine to being your descent to Sunken Valley
Meet Blackhat Badger
Blackhat Badger will move here after Ashina Castle. If he doesn't, go buy all of his inventory at Ashina and come back. His shop is now closed, and he's interested in the Kite device to get across. You'll use this later.
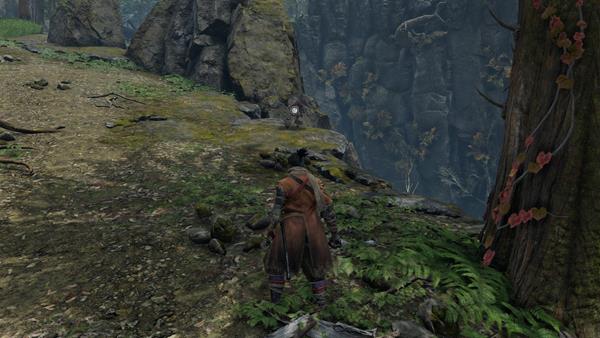
Toward the Temple
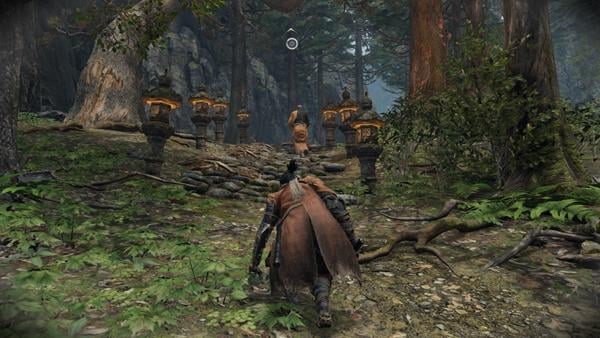
Grapple back up and head up the slope toward some stone lanterns. You should kill all the monks in this area to loot it thoroughly. Most can be done from stealth if you're patient, but be mindful that they travel in groups past the torii gate. You can use Ceramic Shard to separate them or stealth one and fight the rest. The ones with staves do thrust-move Perilous Attacks.

There's 1x Light Coin Purse on top of the Ni-Oh gate. Now go right from the gate and into the tall grass. You'll be able to ambush some patrolling monks on a path ahead. Loot 1x Ako's Sugar from near the main path, then continue right toward 4x Spirit Emblem.

After getting them, drop down one ledge to obtain 1x Light Coin Purse, 3x Antidote Powder. From this location, look up and you'll see a grapple point. This will take you to 1x Heavy Coin Purse.

Return to the Ni-Oh gate and go left instead, you'll see 2x Mibu Possession Balloon to the left of the staircase ahead of the gate. Go up and stick to the left side to avoid the enemy cluster, and pick up 1x Pellet. From here grapple to a higher ledge and pick up 1x Pacifying Agent. Ahead of you, there are two guards. Sneak behind them to obtain 1x Fistful of Ash.
Getting Inside
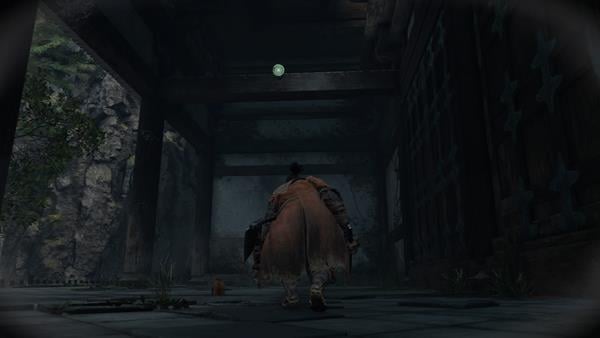
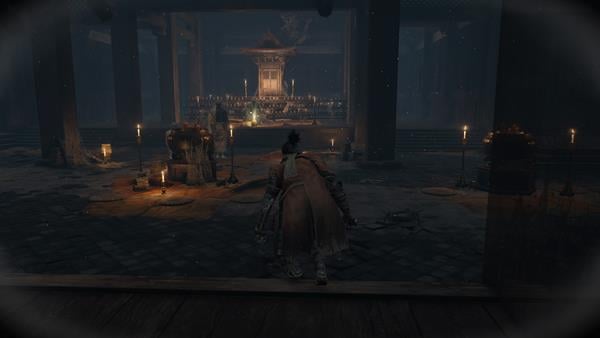
From here, look up to find a grapple point leading to an opening on the ceiling. Go inside and defeat several Crickets, then pick up 1x Ako's Sugar. The room ahead has 4 monks and more Cricket. After you engage them, you'll face a Hammer Monk. Shuriken is useful for some chip damage, but it's best to wait for his heavier attack and go in when he's down. He'll net you 154XP. The other enemy is clad in white and will puke a rot essence that makes the crickets more aggressive. Pick up 1x Gourd Seed from in front of it, and 1x Lump of Fat Wax from behind the shrine. This room also contains 1x Gokan's Sugar and 4x Ceramic Shard.
Back Outside
Jump out the window and talk to the Old Woman, who tells you the fresh fruit will be across the cliff and beyond the cave. She asks if you have trouble and she says to bring her rice. You will find the item at the very end of this level, so go all the way of the walkthrough then come back here.
>>> When you come back <<<
Give her the rice and she thanks you. She eats, falls asleep and then tells you that you need to wind a puppet and fly a kite. This refers to the Puppeteer Ninjutsu. Go to talk to Blackhat Badger near the starting point of Senpou Temple and tell him you have an idea. You will use the "rat" by the kite and your Ninjutsu. You need to backstab the rat, then use the ninjutsu by pressing R1 after the backstab deathblow.
Continue On
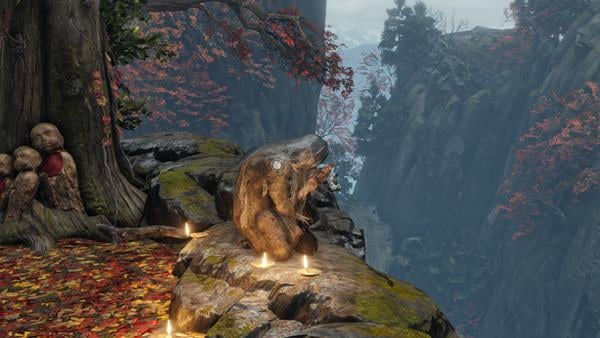
Turn around to see 1x Mibu Balloon of Spirit, then go to the other side and approach the cliff and grapple to a branch. From here look up, you'll spot 6x Spirit Emblem on a further branch. Make it all the way to the top of this maple tree to get 1x Light Coin Purse.

Straw & Blades
Drop Down from the tree to stealth-kill a monk below, then return to the grassy area where a torch-wielding warrior and an archer can be found. Defeat these two and then you'll face two Spear Adepts with a scythe-polearm, beware of their attacks as they deal formidable damage. You can run away and get a stealth kill if you're having trouble. Defeating one nets you 1x Heavy Coin Purse and then each gives 186XP. They can also drop Gokan's Sugar and Scrap Iron. Before moving on, make sure to pick up 1x Spirit Emblem and 1x Antidote Powder from a corner in the courtyard.

Now go to the big temple on the right and around it to collect 1x Ungo's Sugar. There's a monk here you can kill if you wish.
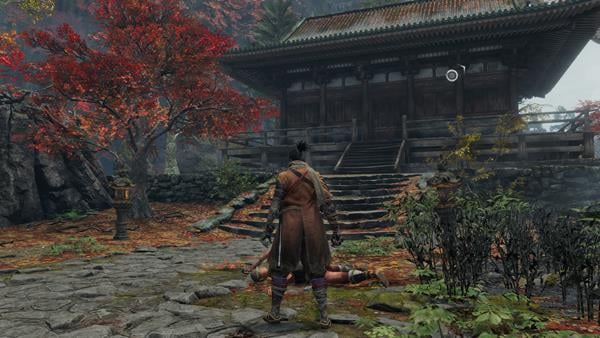
Now return to the stairs where the Spear Adepts were and pick up 1x Gachiin's Sugar. You can then look to a nearby grapple point and down, you can drop onto two enemies and pick up 1x Pellet.
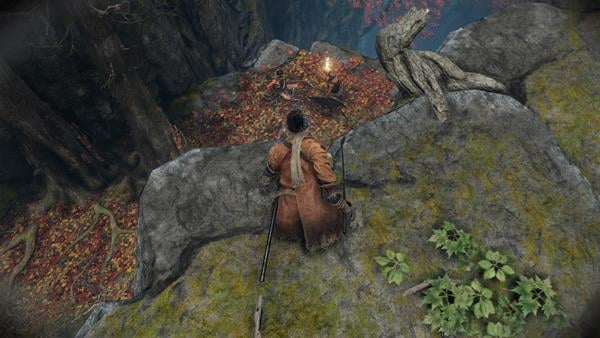
Shugendo Idol

Now grapple up to collect 2x Spirit Emblem and then into the cave, the go through it to reach the Shugendo Sculptor's Idol on the other end.
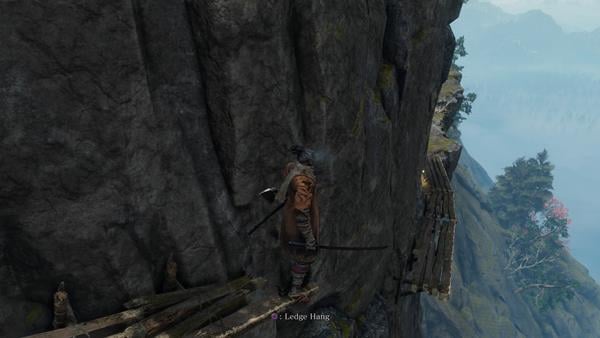
Going left and down from the idol will take you to 1x Ceramic Shard and the Shugendo Memorial Mob merchant. If you look around, you'll notice that you are above the area with the Ni-Oh gate that you went through earlier.
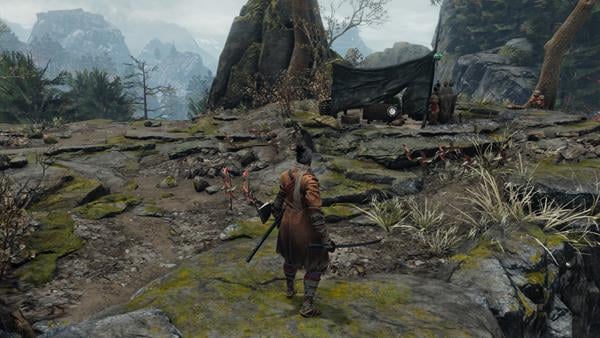
Go back to the Idol and this time head up. Grapple ahead and you'll land in front of a cave with 2x Mibu Balloon of Spirit. There are several Senpou Assassin enemies ahead, so stealth and deathblow it to earn 93XP and a chance for Scrap Iron.

Then grapple to the nearby platform, stealth and kill it, and pick up 1x Gachiin's Sugar. Now grapple all the way up to get a deathblow on the last one.
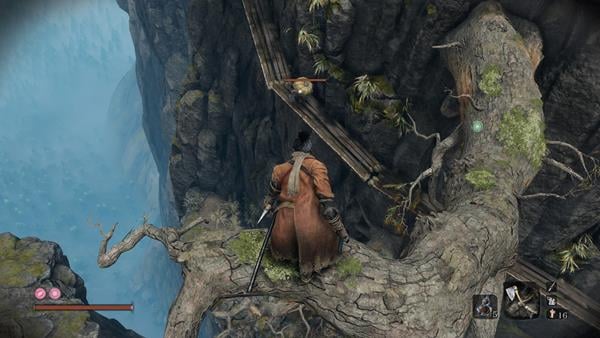
Up the Ledges
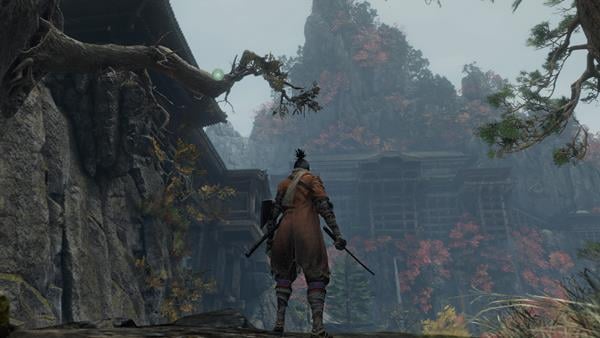
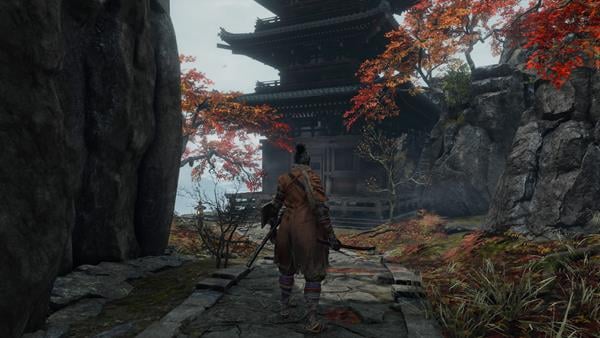
Keep going this way and you'll come to grappable ledges. You'll come to a clearing with an impressive view of a temple reminiscent of real-life Kyoumizudera in Japan. Grapple to the branches and across to reach safe ground, then go left to a section with many carvings with red cloth (Jizo Statues that protect children). Pick up 1x Red and White Pinwheel.
Optional: White Pinwheel

From this area, you can spot some drop-down ledges. Drop as far as you can and you will see a ledge quite far down, looks like dropping will hurt. Drop anyway, as if you're aiming for the ramp nearby, and you'll get 1x Heavy Coin Purse.
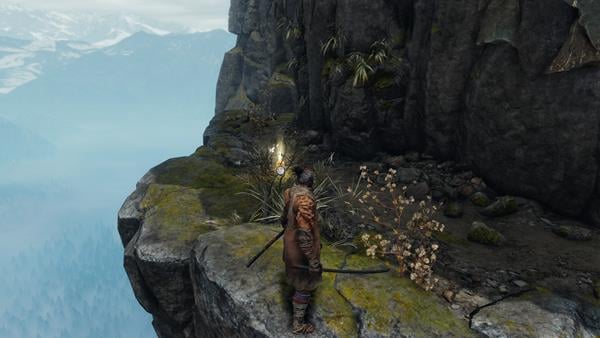
Heal, then use the grapple to your left and hit square to grab onto the ledge, pull yourself up and go toward a wall to wall-jump your way to a higher level. Beware of 2x Gecko before you can jump up.
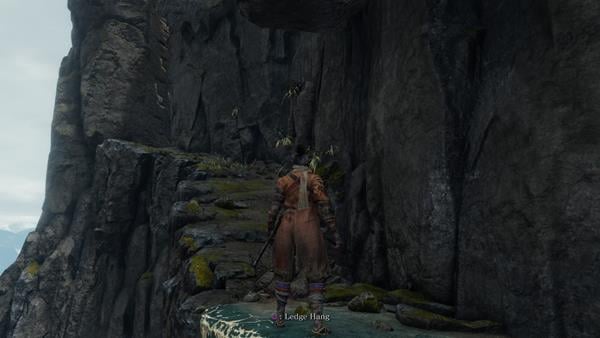
Here you can pick up 1x White Pinwheel. (You can return this to Kotaro. Give him the white pinwheel and he asks him to spirit him away since he knows you're a shinobi. He says he has to go to the children).

Bell Demon's Temple Idol
Jump across the cliff, kill the lizard, and head up the ramp. Use the grapples to access a room and loot 1x Monkey Booze and 1x Heavy Coin Purse. Then open the sealed door and defeat 1 centipede enemy, then loot 1x Black gunpowder. Commune with Bell Demon's Temple Sculptor's Idol to unlock it.
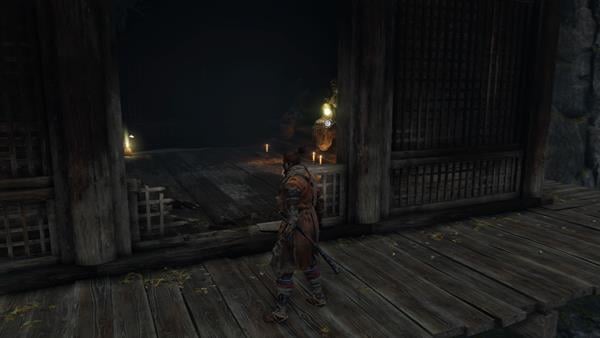
A nearby Hidden Wall: Leads to Headless and Ashina Outskirts. You can now teleport to the Shugendo Idol to continue the Temple level.
Mini: Boss Armored Warrior
The bridge near the Red and White Pinwheel has the mini-boss: Armored Warrior fight. Defeating him gives you 465 XP, 1x Prayer Bead and the Skill Breath of Nature: Shadow.
Temple Grounds Idol
Across the bridge, there's 1x Scrap Magnetite and the Temple Grounds Sculptor's Idol to commune with. Go behind the idol and drop down to a rooftop ahead to collect 1x Ceramic Shard. On the pond ahead there are 2x Treasure Carp enemies to defeat and earn Treasure Carp Scale. Grapple back out and there will be some more wolves and 1x Gokan's Sugar.
Down the Slope

From the sugar, going down leads to 2 Monkey. They can drop Persimmon and are easily dealt with by throwing shurikens. Pick up 1x Pellet. More Monkeys will ambush you as you continue down, defeat them and then stealth-kill a Hammer Monk for 154XP. In this lower area, you can loot 3x Mibu Balloon of Spirit, 1x Persimmon, 2x Spirit Emblem, and 1x Heavy Coin Purse. Look across the broken bridge, ahead is the area where you fought the Spear Adepts enemies!
Back Up
Go back to the pond and grapple onto the branches near the large temple next to the pond. Pick up 3x Fistful of Ash and stealth-kill the monks here. They give 87XP and have a chance to drop Lump of Fat Wax. You can then go to the very corner and jump up to the stone floor. If you go to the end of this corridor, there are 2x Ceramic Shard at the end of the corridor by a broken window. You can jump in through the broken window, or go around and jump onto a rooftop on the opposite side leading to a mini-boss: Long Arm Centipede Sen-Un
Jump Through the Window

There are several "Rats" enemies here, but they are in the rooftops. Kill the one on the ground floor and pick up 1x Light Coin Purse. Then go into the room nearby to fight some monk enemies and obtain 1x Lump of Fat Wax. The central enemy in white has a special centipede effect.
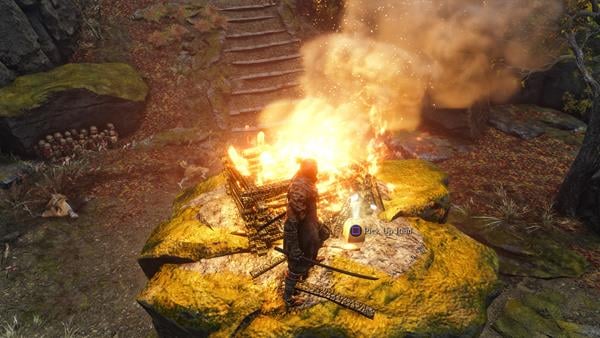
Leave the room and exit the courtyard toward more Jizo Statues and Pinwheels. A bonfire burns in the distance. Defeat some monks and then go further up and around a rock to stealth one large hammer-wielding monk. There's 1x Ungo's Sugar near his location and 5x Fistful of Ash on the bonfire.
Mini-Boss Long Arm Centipede Sen-Un
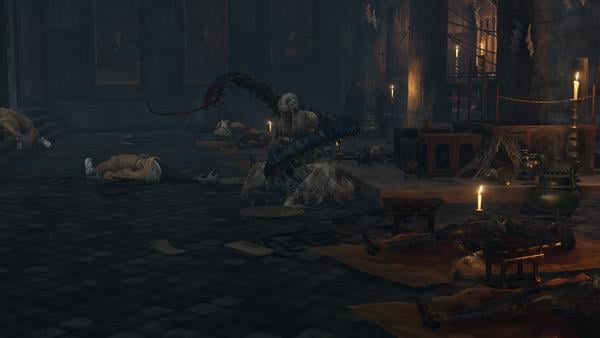
Before proceeding, you can engage the optional mini-boss: Long Arm Centipede Sen-Un. Take the path leading down from the bonfire: you'll face several dogs and Gecko. Kill them all with shuriken and pick up 1x Mibu Balloon of Spirit on the way. You'll arrive at a large temple, and hear scratching sounds. You need to kill all these mini-centipede enemies and grapple to the support beams and kill the ones there too before engaging the mini-boss. The Shinobi Firecracker tool works well for it. Defeating the boss will give you 428XP, 1x Prayer Bead and 1x Yellow Gunpowder. There's also 4x Black Gunpowder and 1x Gokan's Sugar on this room.
Return to the large fire
Go back to the area with the big fire, and stealth upwards until you find 2 monks. Defeat the shield-bearer first from stealth, and engage the firebomb one at close range to defeat him quickly. There's one more enemy and 1x Gokan's Sugar on a ledge to the left of the lantern path up.
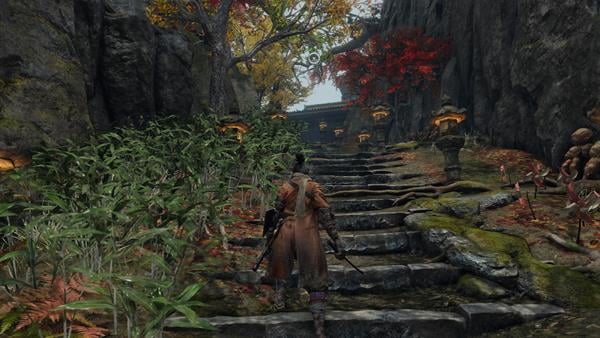
Grapple onto a rooftop ahead and you'll see two more monks on the next staircase. Under that staircase, there's 1x Ungo's Sugar.
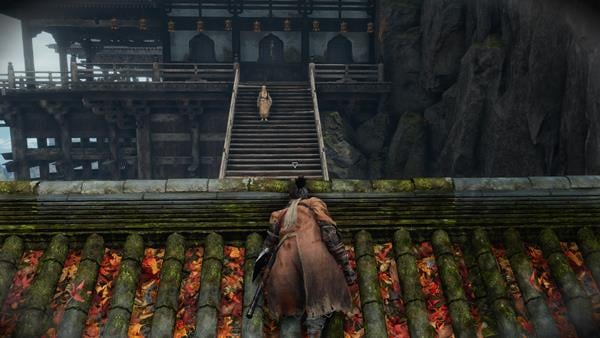
Defeat the monks and continue to find 3x Spear Adepts. These can be difficult so it's best to lure one out and try and get a stealth kill. You will get 1x Bulging Coin Purse.

Main Hall Idol
After defeating the Spear Adepts, open the door and step inside the temple to commune with the Main Hall Sculptor's Idol. This room has 1x Ungo's Sugar and 1x Black Gunpowder by one of the Centipede Monk mobs, 1 x Lump of Fat Wax behind the Buddha main altar, and 1x Pellet by a Cricket Monk on the right side. You can grapple onto the beams and jump on the Buddha to pick up 1x Dragon's Blood Droplet. From the Idol, you should see some beams you can grapple to on the left side of the Buddha. Grapple up and look down at the rows of statues below you. Drop down and grab a Bundled Jizo Statue between the rows.

IF YOU HAVEN'T TALKED TO KURO AT ASHINA CASTLE YET: Talk to the NPC here to hear someone talk about the "Child of the Sacred Water", and say she must be lonely. Ask about the "special holy person", you will be told she's confined to the Inner Sanctum. He asks if you're a Shinobi and says he has a favor to ask of you. He says to atone, he wants you to give her this item. Obtain 1x Holy Chapter: Infested. If you talk to him again he recognizes you as the shinobi of the Divine Heir and tells you not to leave him alone, as you'll only know regret after losing him.
If he isn't here, you can get the infested chapter from the pond near Temple Grounds: dive there after finishing Mibu Village.
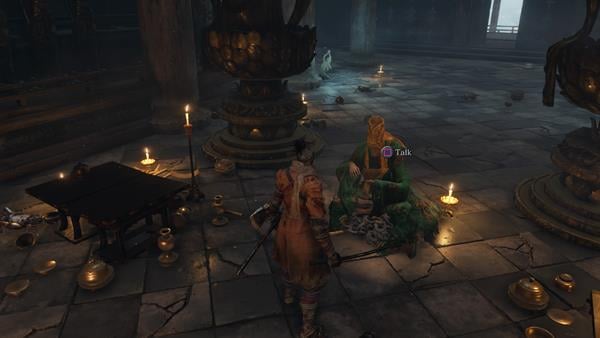
Story Progression: The Bell
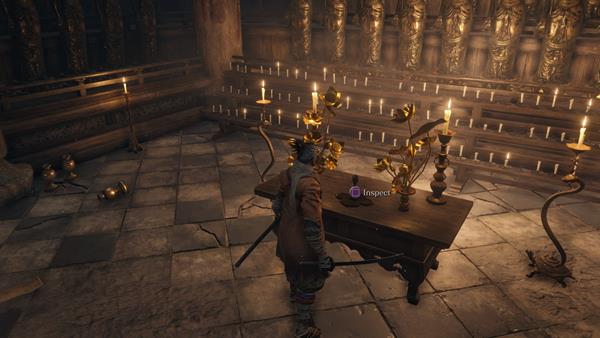
After you speak to Kuro: the Divine Heir at Ashina Castle, coming here will have a small bell that you can ring, and it will trigger a cutscene that takes Sekiro away. You obtain 1x Illusive Hall Bell which is a Quick Item that returns Monkeys and Wolves to their initial states. You are now in the Halls of Illusion.
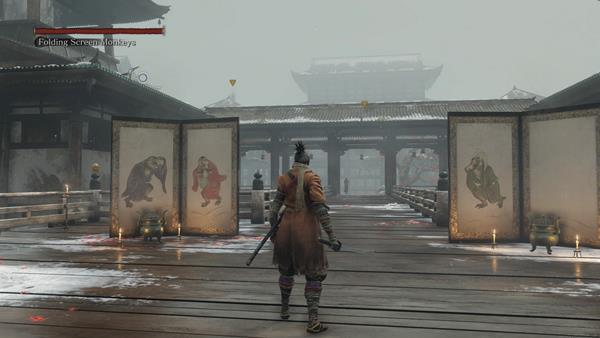
Boss Fight: Folding Screen Monkeys
An NPC ahead of you called Illusory Hall Monk can be talked to in order to learn about the area
- Purple Kimono Monkey: Seeing Monkey. Good Eyesight, will run away if he sees you
- Orange Kimono Monkey: Speaking Monkey. He makes a lot of noise and makes other monkeys run away
- Green Kimono Monkey: Hearing Monkey. He hears far away and is difficult to approach
- White Kimono Monkey: He's Invisible, lands near you making noise.
He tells you he does not want to leave as it seems as close to Nirvana in its own way. He said someone else like you had come with a similar mission but seems to have gone quiet. He prays you might succeed in your quest.
You must now set off to find the Folding Screen Monkeys without being noticed. If you screw up, you can reset with the Illusive Hall Bell. You can use the Deafening Bell nearby to cover your tracks, as well as the water in the "Roaring Hall". The Light Hall will turn dark if you let the wind in.
You will need to use Gachiin's Sugar to suppress your presence and be mindful that the monkeys inflict Terror Status Abnormality. Use your Shuriken to deal with them and use Pacifying Agent as needed. When you're ready to defeat the White Robe Monkey, look for his Yellow Prints and move around the area attacking. Alternatively, use Shinobi Firecracker to get it. Defeating them gives you 3000 XP, Unlocks the Trophy: Folding Screen Monkeys, and takes you to the Inner Sanctum. You also get Memory: Screen Monkeys and the Puppeteer Ninjutsu.
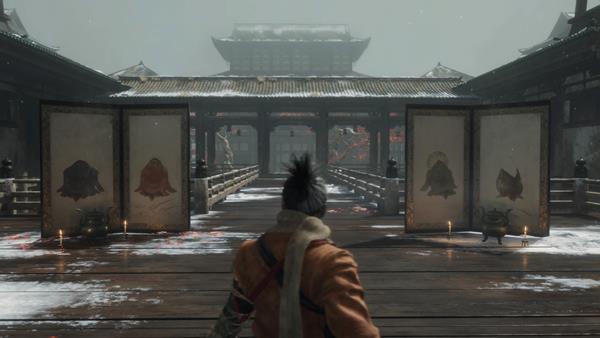
Inner Sanctum Idol
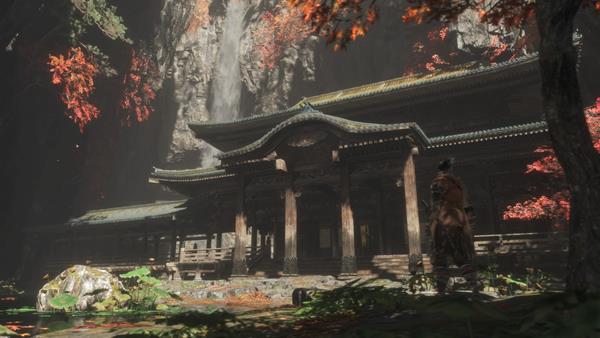
Behind the Inner Sanctum building, you can find 2x Pellet. Within, approach the Divine Child of Rejuvenation and ask for the Fushigiri Mortal Blade, and you will be warned that none who draw this weapon survive. You have an option to try anyway or give up. As you draw the blade, you die but revive. She mentions you carry the curse of the Dragon Heritage.
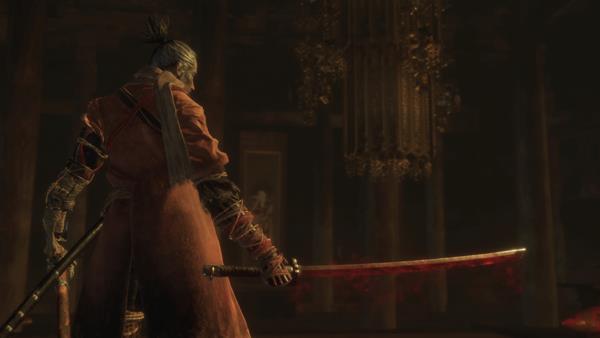
Talking to her again, she asks why you seek the blade. You reply that you wish to sever the Dragon's Heritage. She is the only surviving member of the children of the Rejuvenating Waters. She decides to help you and gives you 1x Rice. After this, you can interact with her for several different results.
- Request Rice: She will give you more when the harvest is complete
- Give Holy Chapter: Infested: She reads it but confesses that she cannot help but still hate them
- Present Sakura Droplet: She offers to convert it into your power. If you say yes, you'll gain Additional Resurrective Power
Back to the Main Hall
Leave the Inner Sanctum by opening the door to the left of the entrance, and you'll be back at the Main Hall. Here, you can now defeat the Centipede Monks by using the Mortal Blade (It's a Combat Arts so make sure to equip it).
From here you can return to Ashina Castle to talk to Kuro and show him the blade for some dialogue.
Into the Cave
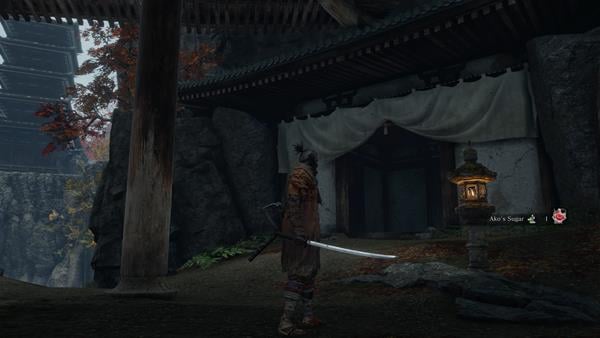
Exit from the far door and drop to a ledge to pick up 1x Ako's Sugar before going into the building with the white banner. Defeat 1 monk and continue down past a Buddha Hall into a cave. You'll be attacked by Centipede, kill them in close range battle.
Senpou Esoteric Text
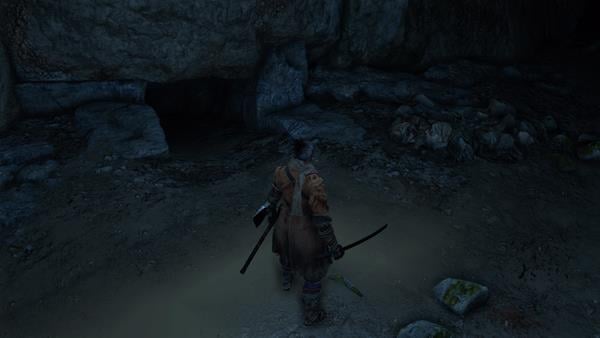
Look left and you will spot a small passage you can crouch through. This takes you to an opportunity to stealth-kill a would-be ambusher.

Press on and enter another narrow passage, this time with water. Pick up 1x Mibu Balloon of Spirit and go up a ledge to face 3 Centipede in a cave filled with dead monks. Grapple up twice and you'll emerge to a Pagoda. Defeat 2 Gecko and Pick up 2x Pellet and 2x Spirit Emblem. Inside the Pagoda, you'll find the Senpou Esoteric Text, that unlocks Temple Arts Skill Tree. You can now use the nearby Grapple point to get back to the temple main hall.
Inform Kuro
Go back to Kuro in Ashina Castle to show him the blade, and then go back to the Shugendo Idol and proceed with the steps for the puppeteer ninjutsu. You'll be going to Sunken Valley and Sunken Valley Passage next.
Diving Loot
Drop into the pond near the "Temple Grounds" Idol and dive towards a Kannon Buddha to get 1x Prayer Bead.
Video
Map
Click to Expand! (WARNING LARGE FILE)
Trivia & Notes:
- The temple structure heavily resembles the real-world Kiyomizu-dera temple in Kyoto.
- Mount Kongo is the only real-world location named and visited in Sekiro, and its placement implies that the Ashina territory lies somewhere in the Nara or Wakayama highlands south of Osaka.
I wish this game had maps like the Dark Souls trilogy and Bloodborne.

 Anonymous
Found this place cz i just strat randomly into the dungeon, no ideas what it is im just "F*ck this ****, just run and see what they got in store in the horizon"

 Anonymous
mf i skipped abandoned dungeon and this location and went to sunken valley thinking it was the way :skull: (i was dead wrong)

 Anonymous
 Anonymous
 Anonymous
If you want to complete Anayama’s quest line, DO NOT give Kotaro the white pinwheel as this guide suggests. Doing so will lock you out of said quest line.

 Anonymous
In the part with the heavy coin purse after the hard hat assassins on the cliff side, you are not supposed to drop down like the guide suggests; it's actually easier doing it the intended way. After the final assassin, you'll come to a dead end. Jump forward until you see a grapple/swing point, grapple on it, and then grab onto the ledge that it swings you towards. Then just scooch over and drop gently down to the ledge with the heavy coin purse. No need to fling yourself into the abyss from a mile up.

 Anonymous
Is the buddha banner the Divine Child talking to you at the beginning?

 Anonymous
"Mount Kongo is the only real-world location named and visited in Sekiro, and its placement implies that the Ashina territory lies somewhere in the Nara or Wakayama highlands south of Osaka."
Only the first part of this note is correct considering the fictional Ashina territory is located in northern Japan whilst Nara/Wakayama highlands are in central/southern Honshu. "Ashina Isshin, who in but a generation conquered the realm and begun the country in the Northern Regions". Mount Kongo is also a very common mountain name in Buddhism-influenced countries. There's a Mount Kongo (specifically 金剛山) in Japan, China, and North Korea. It's like finding a zone called The White Mountains in a Souls game and claiming the game's world is based in New Hampshire's White Mountains when there's probably hundreds of White Mountains in the world, the most famous being Mont Blanc.
Having said all that, Senpou Temple is one of the best designed FromSoftware levels. It's satisfying to full clear the area after getting the mortal blade each playthrough.
 Anonymous
If you use shinobi firecracker with spring loaded axe spin technique on centipede sen-un you can destroy his posture meter in one go and effectively cheese him. Provided you got a stealth deathblow and have enough health to tank one or two attacks during.

 Anonymous
then go back to the Shugendo Idol and proceed with the steps for the puppeteer ninjutsu... Wtf does this even mean?

 Anonymous
 Anonymous
The voice at the beginning is most likely the Devine Child. The speech pattern and voice seem to match.

 Anonymous
You don't need to use the Mortal Draw to kill the infested monks. Once you get the mortal blade and kill them the first time with a normal deathblow, you get the option for a second follow-up with the mortal blade for no spirit emblem cost.

 Anonymous
Here at Senpou temple we believe that the solution to your worldly problems is literally a giant ass centipede.

 Anonymous
While I really enjoyed the the Folding screen Monkeys, I also feel like a master monk who fights with his fists would’ve been a cool boss for this level.

 Anonymous
This walkthrough just says to "go back to shugendo idol" then ends abruptly? I realised you talk to the old lady with rice for info then puppeteer the kite assassin then make your way to the sunken valley for part 2 of the snake since ive finished the game, but would've been nice to know in the actual guide for this location instead of just piecing it together as you go.

 Anonymous
In the main temple, how to open the “door does not open from this side”? Or is it just for show?

 Anonymous
there's a bundled jizo statue in the main hall, if your'e looking at the great buddha with the dragon blood droplet, the bundled jizo statue is to the left in the smaller statues, you have to grapple up to see it.

 Anonymous
Using the Mortal Blade: Just wanted to mention (and in case site wants to include it when mentioning using it) you do NOT have to equip the Combat Art, which costs spirit emblems to use. After killing/getting deathblow on infested priests another deathblow red icon will appear on them b4 they resurrect. This will use the Mortal Blade to kill them without using emblems and the Combat Art.

 Anonymous
Rice Lady 1. you need to take the cursed blood from lady on bridge before ashina castle. 2 give it to emma she is going to create a heal for it. 3. use it on idol to heal all epople that are cursed 4. now she will tell you to find her rice

 Anonymous
you do not have to talk to the lady or blackhat for the kite thing all you have to do is get the required ninjutsu

 Anonymous
Pretty solid but this is all easy*****, where is the actual entrance to the barred door in the Main Hall? Cannot for the life of me find it

 Anonymous
 Anonymous
 Anonymous
 Anonymous
If the npc is not there go back to his original and buy out the rest if his items

 Anonymous
The NPC wasn't there for me, either, but it didn't hinder my progress through the area.

 Anonymous
 Anonymous
Theres a big rock with scratches on it that doesn't allow me to continue further, after the straw scythe dudes. The NPC beforehand only says "I don't know which way to go"...

 Anonymous
 Anonymous
 Anonymous

this damn npc doesnt talk to me, what i do?
1
+10
-1